
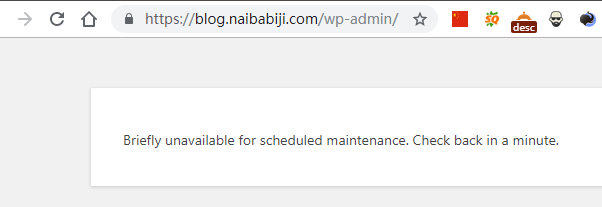
Today, while upgrading a WordPress plugin, I encountered the message „Briefly unavailable for scheduled maintenance. Check back in a minute„, which translates to “Routine maintenance is in progress, please come back in a minute.„ However, the entire website became inaccessible. Since this wasn“t the first time I„ve faced this issue, resolving it was straightforward.
Methods to resolve „Briefly unavailable for scheduled maintenance. Check back in a minute“
The root cause of this prompt is that WordPress automatically generates a .maintenance file during the upgrade process to prevent website access while upgrading. This file is automatically deleted upon successful upgrade completion. However, if the upgrade fails, the .maintenance file may not be automatically deleted. Manually deleting this file will resolve the issue.
Method 1: Delete via SSH command

Using an SSH command, switch to your website root directory, then enter rm -rf .maintenance.
Don't know how to manage the server via SSH? Please refer to:#建站#Xshell 6 Basic Tutorial: Connecting to a VPS
Method 2: Delete via Baota Panel file function
Log in to the Baota Panel backend, then click on your website's folder, find the .maintenance file, and delete it.
Forgot the Baota Panel backend address? See:What to do if you forget the Baota Panel backend login URL
Method 3: Delete the .maintenance file via FTP
Open your FTP software (FileZilla, a free FTP client, is recommended), log in to your website's root directory, locate the .maintenance file, and delete it.
Method 4: Modify the wp-activate.php file
If you cannot find the .maintenance file mentioned above, you can try this method. Find the wp-activate.php file in the website root directory, and modify it via SSH or by downloading it to your local machine via FTP.
On line 9, define( ‚WP_INSTALLING‘, true );
Change to: define( ‚WP_INSTALLING‘, false );
Then upload it, refresh the website, and it will be accessible normally.
Method for manually updating WordPress
If you need to manually update WordPress, please refer to the previous article:WordPress手动升级版本的教程If upgrading a plugin, simply download the new version of the plugin archive, unzip it, and upload it to overwrite the old plugin.
You can also delete the old plugin in the backend and then reinstall the new plugin by uploading a zip archive.