
phpstudy was previouslyBuilding a Website on Your Local Computerwas introduced in a tutorial, its Chinese name is Xiaopi Panel, a server panel software that supports Windows and Linux systems, allowing you to quickly set up a website environment on your server.
This article introducesHow to Install a WordPress Website Using phpstudy Xiaopi Panel on a Linux System。
phpstudy Xiaopi Panel Installation Tutorial
1. Use SSH software to connect to the VPS server.
Reference Tutorial:#建站#Xshell 6 Basic Tutorial: Connecting to a VPS
2. Depending on your Linux system, select and copy the following command to execute in Xshell software (CentOS system is recommended).
Copy the following script for CentOS system:
yum install -y wget && wget -O install.sh https://download.xp.cn/install.sh && sh install.sh
For Debian/Ubuntu/Deepin systems, execute the following script:
wget -O install.sh https://download.xp.cn/install.sh && sudo bash install.sh
3. The prompt shown in the image below indicates that the panel has been successfully installed.
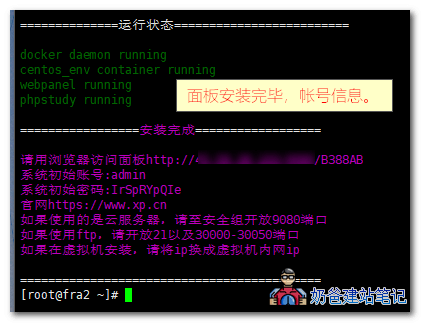
Next, we need to enter the Xiaopi Panel to install the necessary components for website operation, such as php, mysql, and nginx.
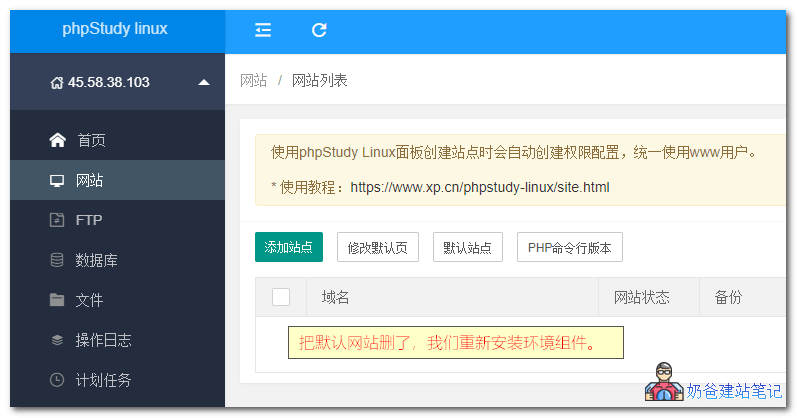
4. Log in to the Xiaopi Panel backend. First, delete the default website because it occupies the program, preventing the uninstallation of the programs installed by default in Xiaopi.
5. Uninstall the default old version of the program.
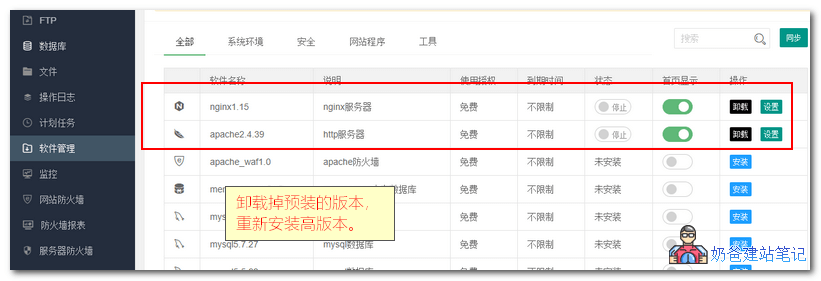
6. Install new versions of PHP, MySQL, and Nginx. At the time of this tutorial update, the built-in program versions in Xiaopi Panel were not rich enough. Naiba Web Development installed PHP 7.0, Nginx 1.9, and MySQL 5.7.27.
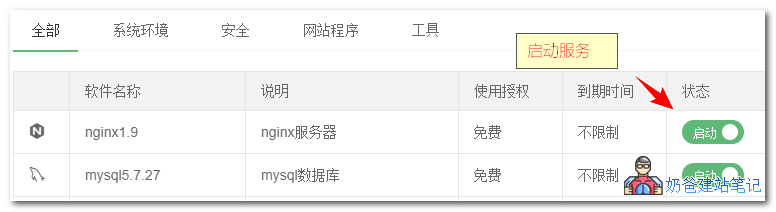
After installation, remember to enable the programs.
Installing a Website in Xiaopi Panel
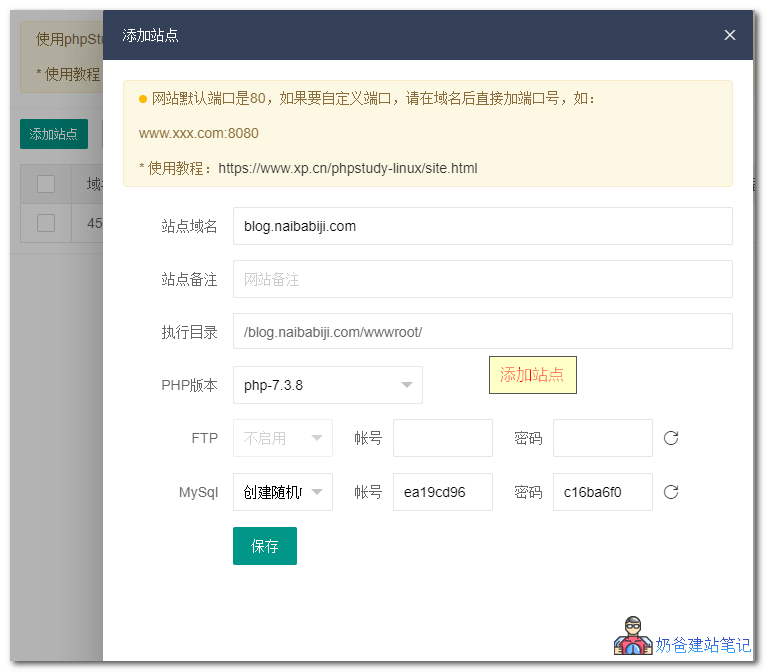
First, add a website in the panel.
Here, we takeInstall WordPressas an example, select the php version (the screenshot shows php7.3.8 was installed, but there was a bug and it failed) and create a database.
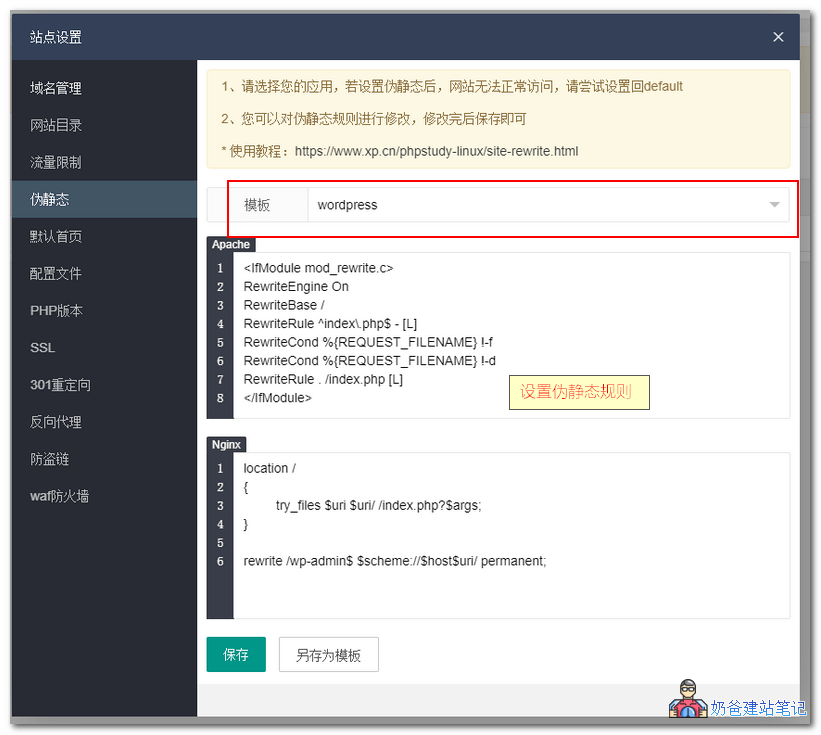
After adding, enter the site settings, select pseudo-static, choose WordPress from the templates, and save.
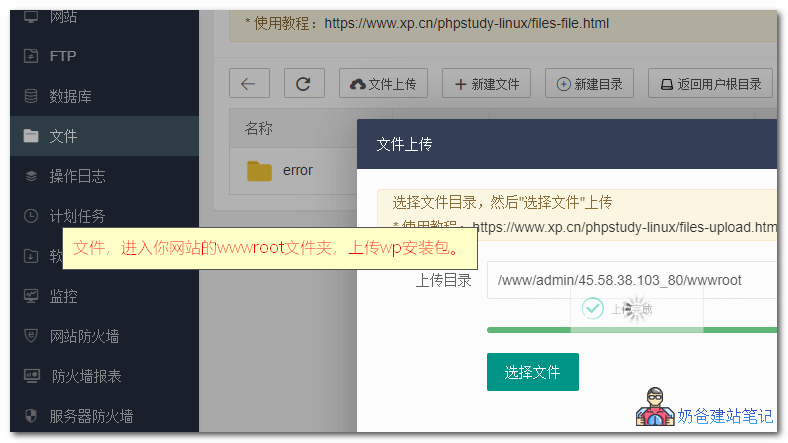
Then, go to the files section, find the website root directory of the website you added (under the wwwroot folder), upload files, and upload the downloadedWordPress Installation Packageup.
Naiba Tip:
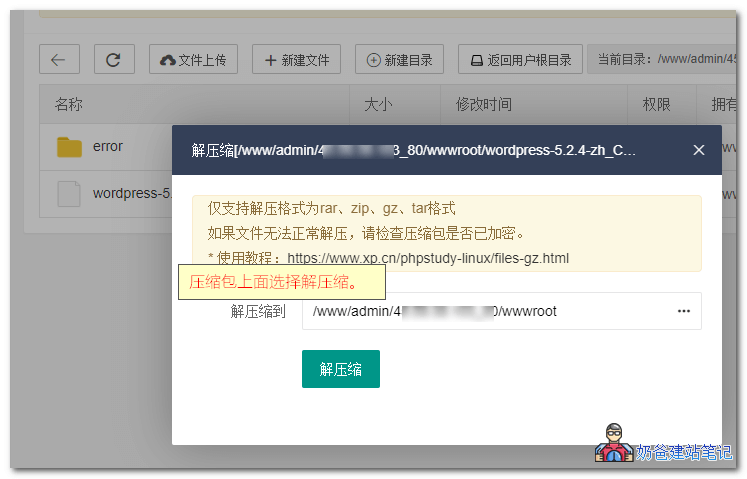
The online file management system function of Xiaopi Panel is not yet perfect. First, extract the WordPress zip file on your own computer, then enter the WordPress folder, repackage all files into a zip format file, and upload it.
After uploading, select 'Extract' on the zip file.
After decompression, open your URL to see the WordPress installation interface. Follow the prompts to install.
During installation, fill in the database information with the database information generated when you added the site in Xiaopi Panel earlier.
Xiaopi Panel Management Commands
Directly enter 'xp' in the SSH interface to access the Xiaopi Panel management interface:
[root@naiba ~]# xp

===============请输入以下指令编号==============

1)         启动phpstudy
2)         停止phpstudy
3)         重启phpstudy
4)         查询phpstudy状态
5)         初始化登录密码
6)         查看面板登录信息
7)         修复主控web面板
8)         查看首次安装登录信息
0)         显示本页
98)        卸载phpstudy
99)        退出本页
If you forgot the password, enter 8 to view the default username and password. If you changed the password and forgot it, you can try 5 to initialize a new password.
If you want to uninstall Xiaopi Panel, enter 98. Refer to the commands above.
Which is Better, Xiaopi Panel or Baota Panel
Xiaopi Panel and Baota Panel have the same functions; they are competing software of the same type. So,Which is Better, Xiaopi Panel or Baota Panel?
Naibabijirecommends prioritizing Baota Panel. From actual usage experience, Xiaopi Panel is still in the testing phase, not as feature-mature as Baota Panel, and is not suitable for beginners to tinker with.
Baota Panel related tutorials:
- Website building video tutorial: Baota Panel beginner installation and website setup tutorial
- #WebsiteBuilding# Beginner-friendly Baota Panel setup tutorial
- #WebsiteBuilding# Adding your own website in Baota Panel (Baota add virtual host)
- #建站#Building a WordPress Website Tutorial in Baota Panel
phpStudy Xiaopi Panel Frequently Asked Questions
1. How to modify the database password after forgetting it?
How to reset or change password on Windows version:
How to change or reset MySQL password in phpStudy
MySQL username and password are both root by default.
Change MySQL password
Please use 『Other Options Menu』 - 『MySQL Settings』 - 『Set or Change Password』.
Reset MySQL password (use when password is forgotten)
Please use 『Other Options Menu』 - 『MySQL Tools』 - 『Reset Password』.
How to reset or change password on Linux version:
Please follow steps 1, 2, 3 as shown in the figure below:
◆ First, click the left panel [Database] to enter the database list interface;
◆ Then click [root password];
◆ Next, in the popup, modify the root password and save.
Note:Default is a random password. 'root' is the highest privilege account password, please operate with caution.