
When you purchase the SiteGround GrowBig plan or higher, there is no limit to the number of websites you can install. So, if you plan to install a second or Nth website on SiteGround, you can directly add it from the SiteGround backend.
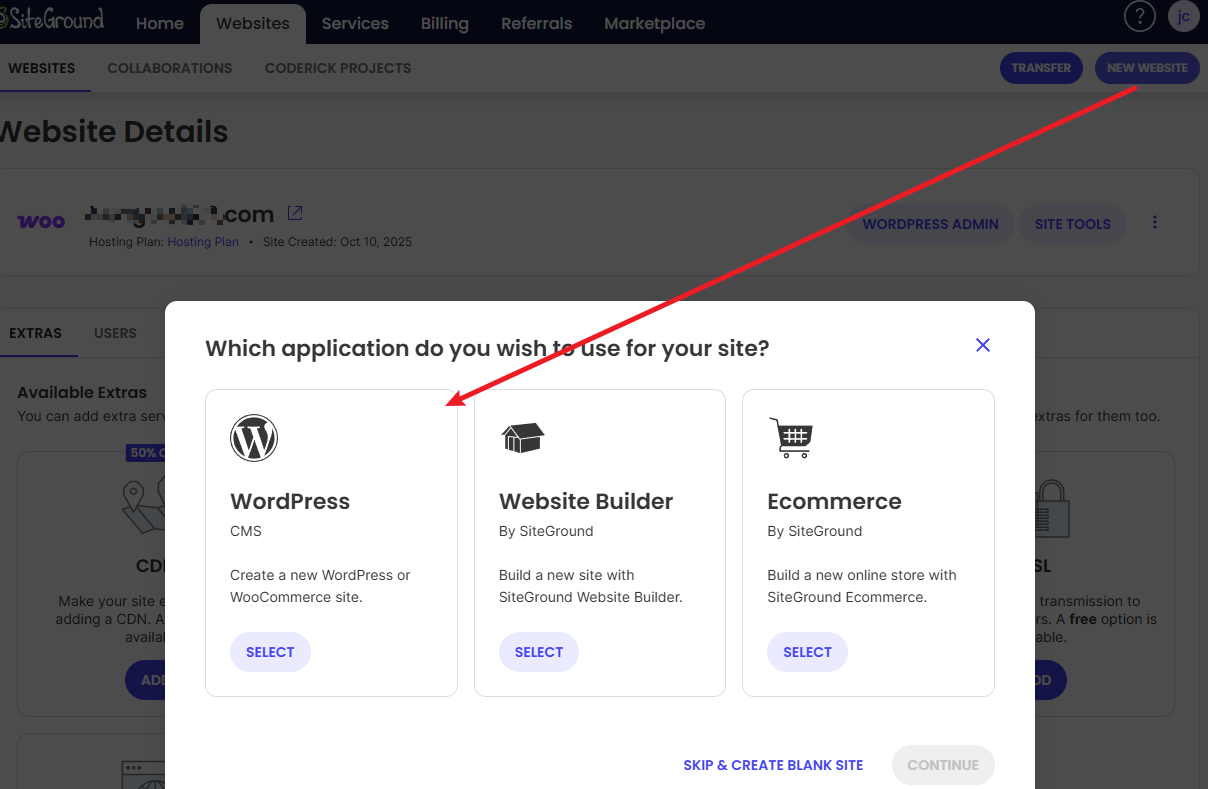
After entering the SiteGround backend, go to the Websites interface, click theNEW WEBSITEbutton in the top right corner, and in the pop-up interface, select WordPress.
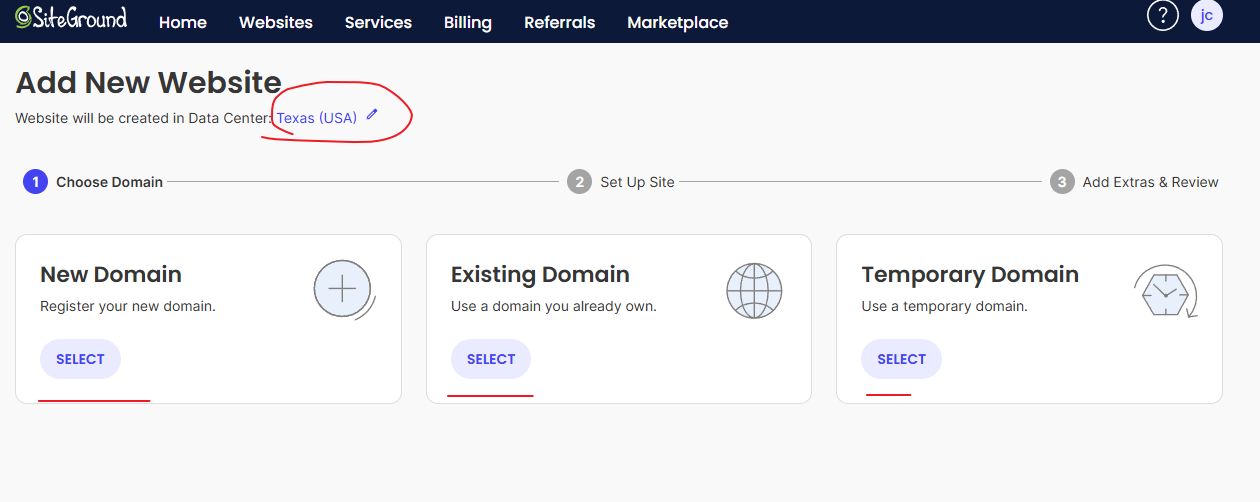
In the new interface that appears, first select the data center location at the top. Then, below for the domain, there are three options: New Domain (register at SiteGround), Existing Domain (domain registered elsewhere), and Temporary Domain. Choose according to your situation; here we select Existing Domain.
After filling in your domain and proceeding to the next step, there is a Recommended for WordPress interface; select NO, thank you.
The services recommended on the new page also do not need to be purchased; directly click the Finish button.
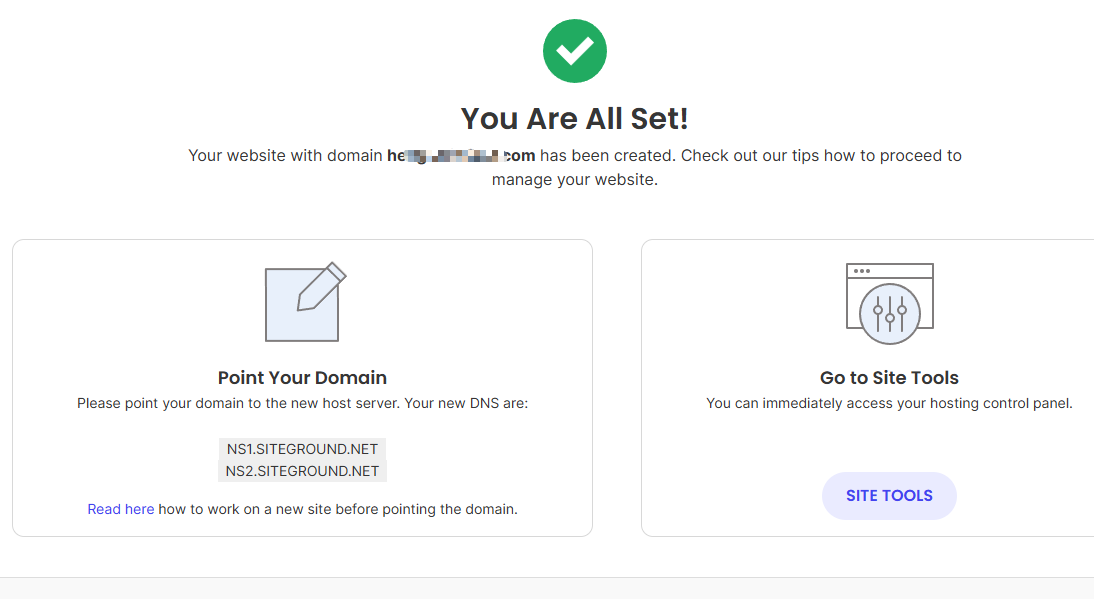
Finally, the website is automatically installed, and it tells you to change the domain's DNS servers to SiteGround's. Go to your domain registrar to make the change.
Reference Tutorial:NameSilo Domain Resolution and DNS Server Modification Tutorial – Naiba Web Development Notes