If you are a blogger who frequently tests WordPress themes and plugins, then WP Staging introduced in this article is definitely for you.
What is WP Staging?
WP Stagingis a plugin that makes it easyto create a sub-site with the same environmentplugin, similar to the ghost function on computers in the past.
Back up all the main site content as a „ghost“ and copy it to a subdirectory. Then you can test freely on the subsite without affecting the main site„s content and database.
Naiba Tip:
stagingis a testing production environment. Typically, during development, you first write and test locally. After confirming no issues, you deploy to the staging environment for testing. Finally, once everything is verified, you officially publish to the live website.
WP Staging Plugin Download Address
WP Staging can be installed directly by searching in the WordPress admin plugin directory, or you can download the plugin installation package using the link below and upload it to the website admin for installation.
Download Link Cloud Storage Download
WP Staging Usage Tutorial
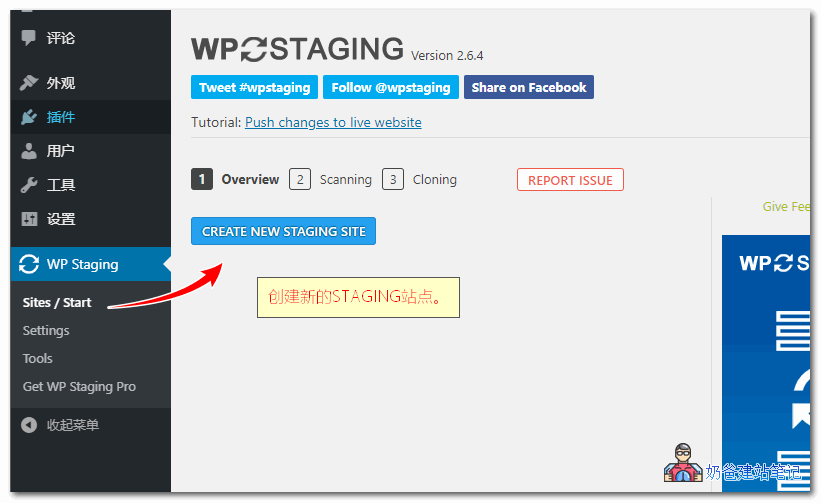
1. After installing the plugin, find the Start button in the left menu bar and click to create a staging website.
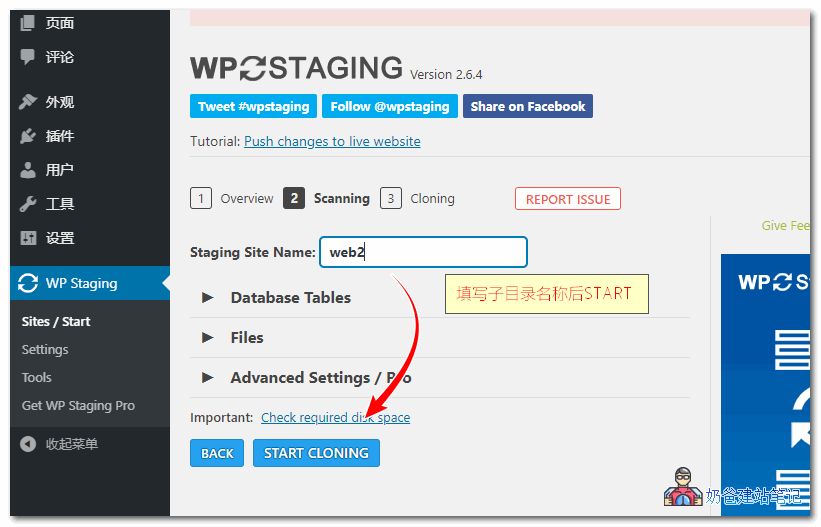
2. Fill in a Staging site name (that is, the folder where the site will be installed).
By default, just click START directly. If you want to customize which content to clone, select it yourself.
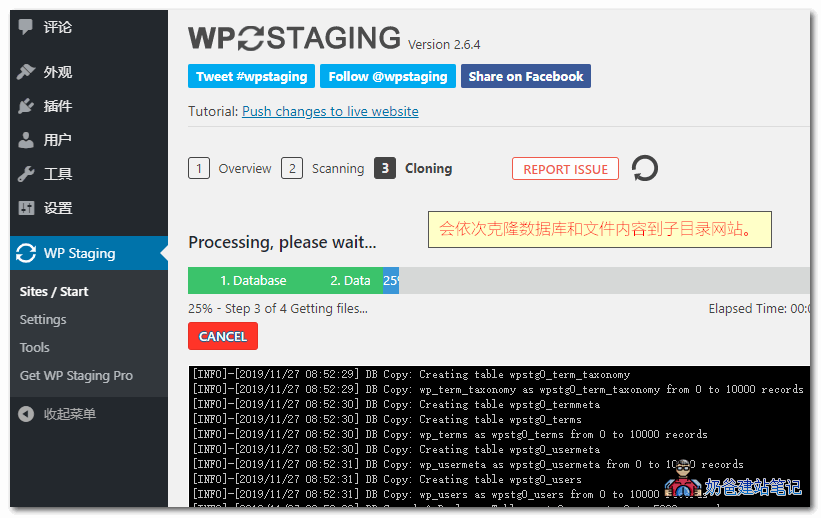
3. Creating the cloned test site is in progress. The time required varies depending on the size of your website's data.
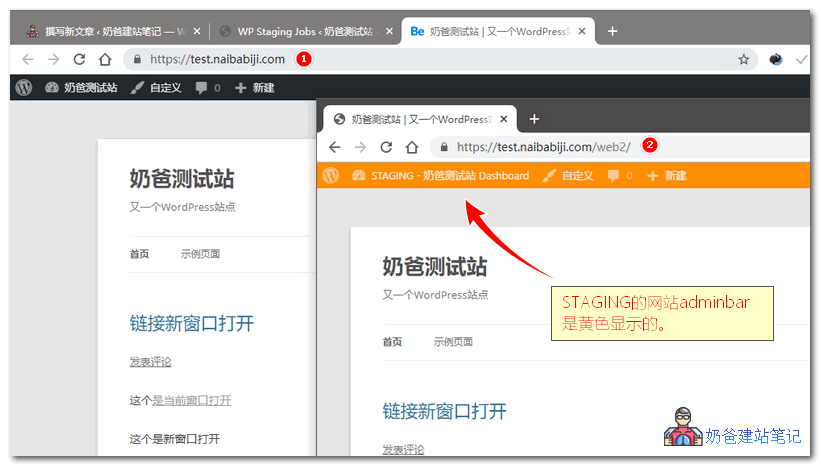
4. After the staging website is created, log in to the admin backend. The account and password are the same as your main site. After logging in, a yellow admin bar at the top will indicate you are on a test site, allowing you to experiment freely.
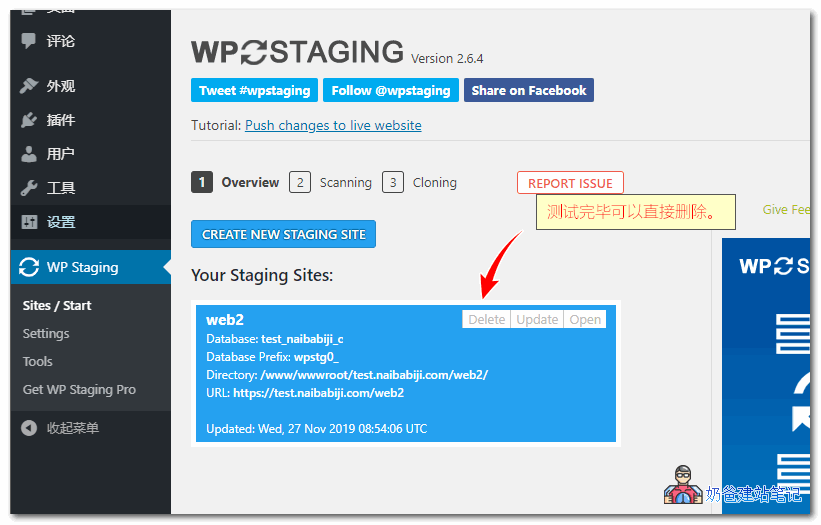
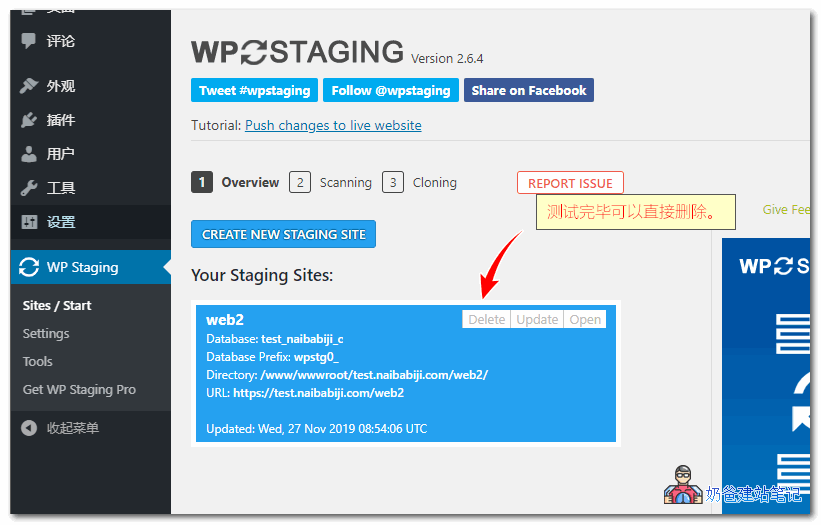
5. After testing, if you want to delete it, simply select delete on the plugin in the main site's admin. It's very convenient.