
Naibabijihas always writtenWordPresstutorials on building websites, today we're posting one using Typechotutorial on building a website. The tutorial is in theLNMP one-click packagewritten in the LNMP environment, but if you use Baota Panel or other website building environments, Naiba's articles also cover the operation methods.
The Difference Between Building Websites with WordPress and Typecho
What are the differences between WordPress and Typecho for building websites? Naiba will analyze them below:
From a performance perspective:On a server with the same configuration, for ordinary users, a website installed with Typecho will be faster than one installed with WordPress, meaning Typecho is more resource-efficient.
From the perspective of ease of use: Typecho is simpler than WordPress.
From the perspective of extensibility: WordPress has more plugins, themes, and tutorials compared to Typecho. WordPress has strong extensibility. If you don't have any coding skills, it's very difficult to find ready-made plugins or tutorial methods to implement certain features in Typecho, whereas it's easy with WordPress.
From the perspective of website building purpose: If you don't want to bother and just want a program to record text, you can consider Typecho; if you want to seriously build a website with user visits, WordPress is recommended.
Preparations Before Building a Website with Typecho
The process of building a website with Typecho is the same asSteps and Process of Building a Website. First, we need to add a virtual host and point the domain name to the virtual host's IP. Refer to the methods in:LNMP One-click Package Adding Virtual Host Graphic and Video Tutorial、Baota Panel Adding Virtual Host Tutorial。
Create a database. LNMP has options during the process of creating a new virtual host, or you can manually create it. For Baota Panel, just create it manually. If you don't know how to operate, join the group 774633089, and Naiba will guide you.
Below is the process of formally building a website using Typecho.
1. Download and Upload Typecho Installation Files
The official Typecho download address is:http://typecho.org/download
LNMP One-click Package Users: You can directly enter the following code in the Xshell interface.
cd /home/wwwroot/你域名文件夹
wget http://typecho.org/downloads/1.1-17.10.30-release.tar.gz
tar zxvf 1.1-17.10.30-release.tar.gz
mv build/* /home/wwwroot/你域名文件夹/
chmod -R 755 *
chown -R www:www *
After completing the above commands in sequence, you have already downloaded the Typecho installation package and extracted it to the root directory folder of the domain where you want to install it.
Baota Panel Users: You can operate directly within the Baota Panel.
宝塔面板依次点击→网站→你要安装的域名(根目录)
远程下载,复制http://typecho.org/downloads/1.1-17.10.30-release.tar.gz到下载里面下载。
解压下载的压缩包,进入build文件夹,全选所有文件,剪切,切换到根目录,粘贴。
Other Panel Users: Download the compressed package on your computer, extract it, and then upload all the files from the build folder to the website root directory via FTP.
2. Visit Your Domain URL to Install
The Typecho installation interface appears. Click 'Ready to start installation' and proceed to the next step.
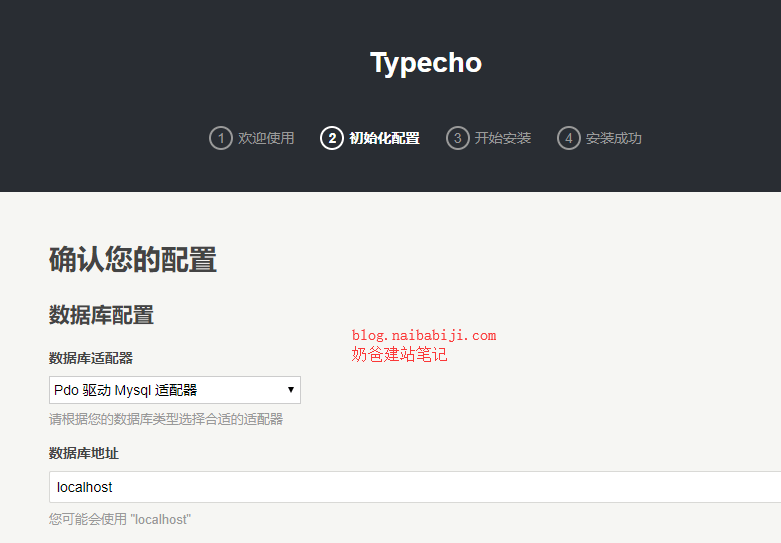
In the initialization configuration step, enter the corresponding content.
Typically, the items you need to modify yourself are as follows:
Database username, database password, database name
Admin account username, password, and email,Other content can be kept as default.
3. Installation Complete
That's right, the installation is finished in an instant. Didn't even have time to react, did you?
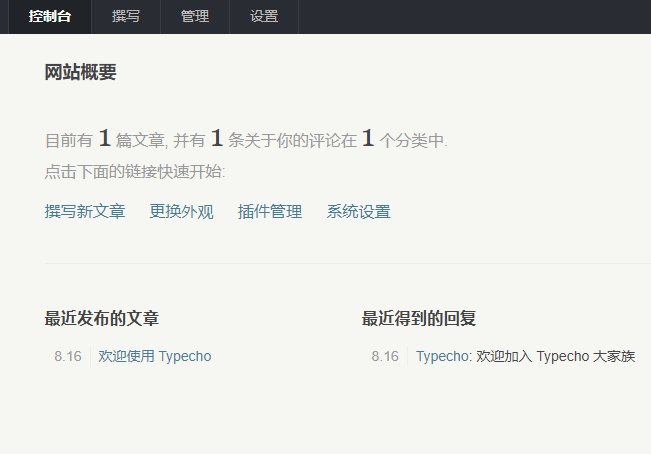
Next, what you need to do isGo into the system settings and modify: Site name, site description, keywords (delete and leave blank)
Other settings can be modified as needed. If you modify the permalink, you need to configure pseudo-static when adding the virtual host. There are many configuration methods online. If you can't figure it out, ask Naiba.