The previous tutorial introducedhow to install a WooCommerce store website using the Astra Theme, this article continues to updateWooCommerce Tutorials, teaching you how to configure WooCommerce to sell products on the website.
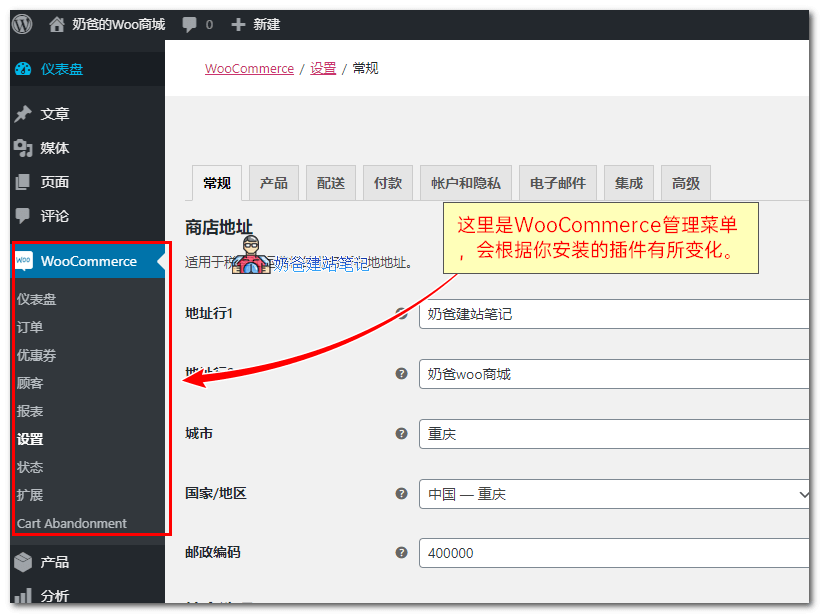
A WooCommerce menu option will appear in the left menu of the WordPress Admin Dashboard. Click on Settings to enter the WooCommerce system configuration interface.
First is the General Settings:
In the General settings, you mainly set your store address, sales regions, shipping scope and prices, and currency selection.
Choose these based on your actual situation.
If you want to sell products in multiple currencies, you can install a corresponding multi-currency switching plugin.
Next to each setting, there is a question mark icon; clicking it provides an explanation.
Next is the Product Settings:
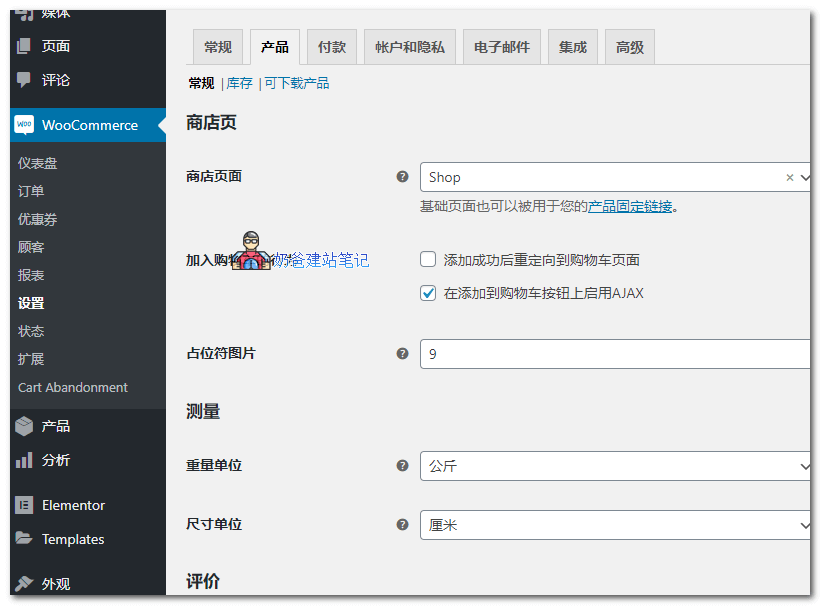
In the Product settings, there are several major options: General, Inventory, and Downloadable Products.
The Shop page is the page that displays all your products. When installing WooCommerce, you are prompted to create a page; if you didn't create one, create a page yourself.
If the review feature is enabled, users can rate products.
In Inventory management, you can set how many minutes without payment before canceling the order.
In Download settings, you can require login to download, which is useful for selling virtual items.
Payment Settings:
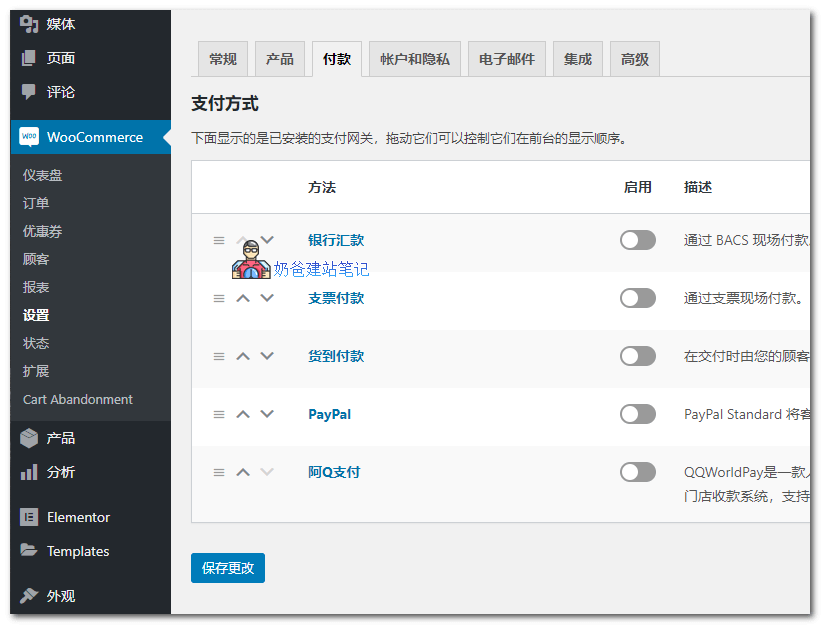
Payment settings are essential for 2C business. If the default payment methods do not meet your needs, you can find and install other payment gateway plugins.
Then enter the settings of the payment method you want to enable for detailed configuration.
Accounts & Privacy Settings
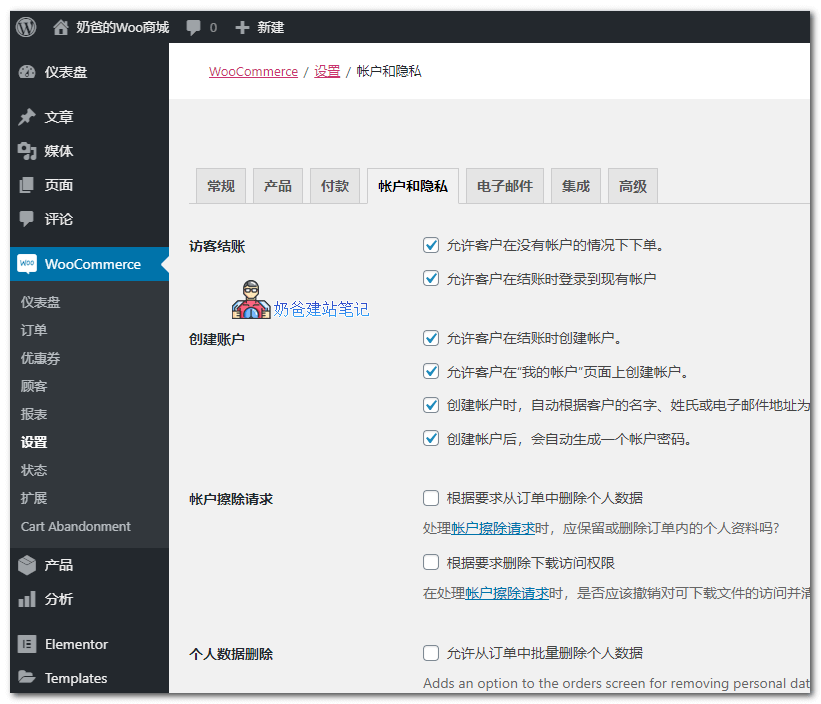
This interface allows you to set account registration and deletion conditions, as well as the retention time for users and orders.
If targeting foreign customers, the account deletion option should be enabled to avoid violating local privacy laws.
Emails
Emails are the notification templates for your e-commerce website. The prerequisite is that you need to configure the website's email sending system. Generally, usingSiteGroundsuch Shared Hosting does not require additional setup; it can send emails by itself. However, if you bought your ownVPS, then you need to rely onSMTP Pluginto send emails.
Integration
If you selected IP Address at the default checkout location, then you need to fill in a MaxMind key in the Integration interface to automatically update the IP data package.
Advanced
The Advanced interface mainly contains custom settings; usually, keeping the defaults is fine.
After configuring these settings, you can start uploading products via WooCommerce, testing, and selling.
You might also be interested in:
10 Best WordPress WooCommerce Theme Recommendations