
Do You Think WordPress Migration is Difficult?Actually, it's quite simple to migrate WordPress yourself. You just need to understand the principle and then proceed with the operation.
The Principle of WordPress Migration
WordPress migration is similar to moving house in real life: website data is transferred from one server to another. What we need to do is package all the WordPress website data and copy it from the old server to the new server.
For example, when you move from an old house to a new one, you hire a moving company to transport all your belongings to the new house, then do some tidying up, and the move is complete.
WordPress migration is simpler than moving house in real life. Below, Naiba will introduce several common methods of WordPress migration.
Common WordPress Migration Methods
Using All-in-One WP Migration for Migration
All-in-One WP MigrationThis plugin has been introduced by Naiba before and is very useful.
Operation Steps on the Old Server
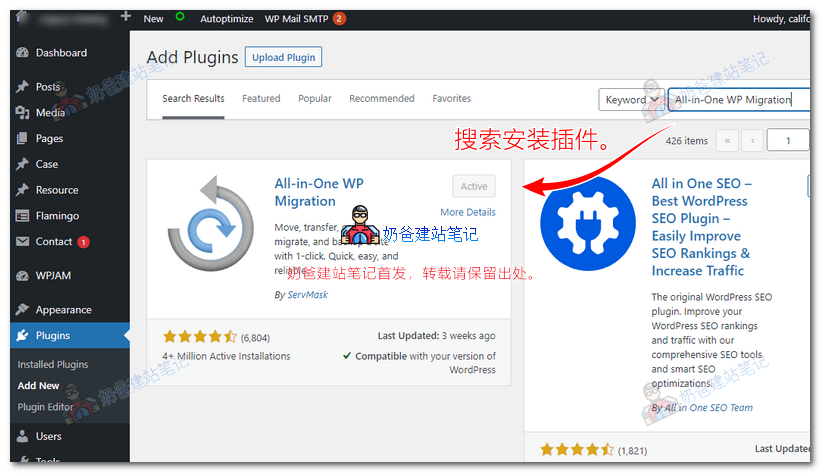
1. Log in to the website Admin Dashboard on the old server, go to the Plugins page, and install All-in-One WP Migration.
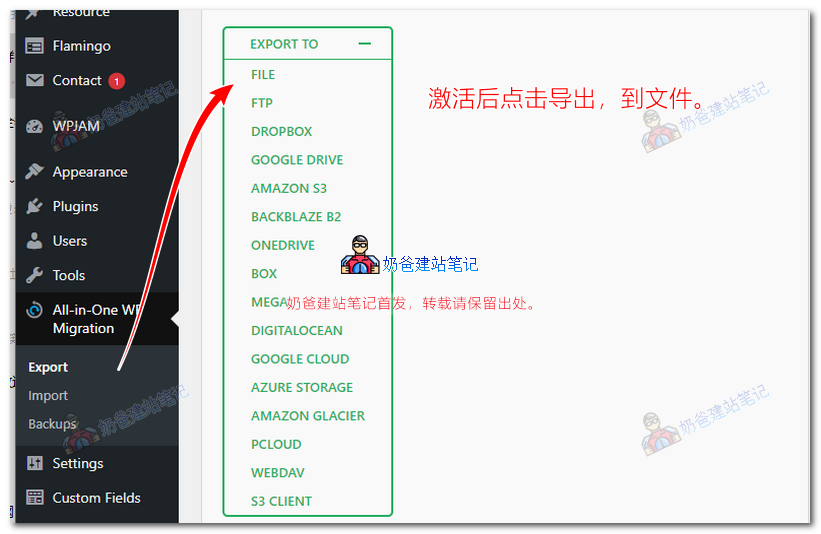
2. Activate the plugin and export all data from the website on the old server.
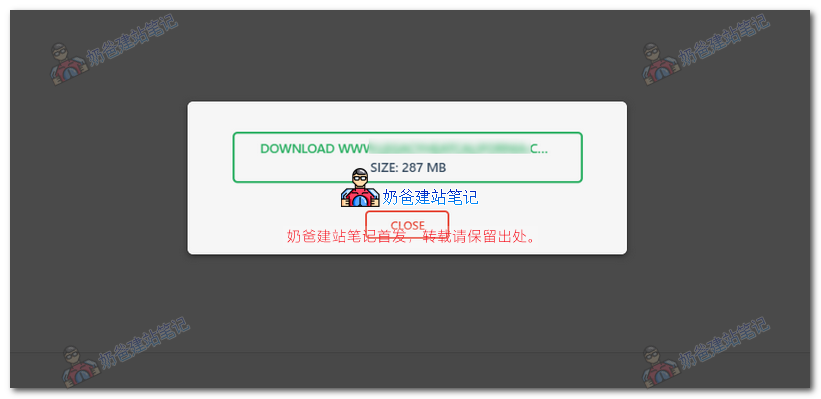
Download the backed-up website files to your local computer.
Operation on the New Server
Next, we operate on the new server.
The new server has several scenarios:
- If you purchased Shared Hosting, for example,SiteGround、GreenGeeks、HostingerThis type, they will usually bind the website for you by default. You just need to click one-click WordPress installation in the backend.
- If you purchased a VPS, you need to create the website to be migrated in the backend yourself. For example, in Baota Panel, follow the steps as shown in the figure below.
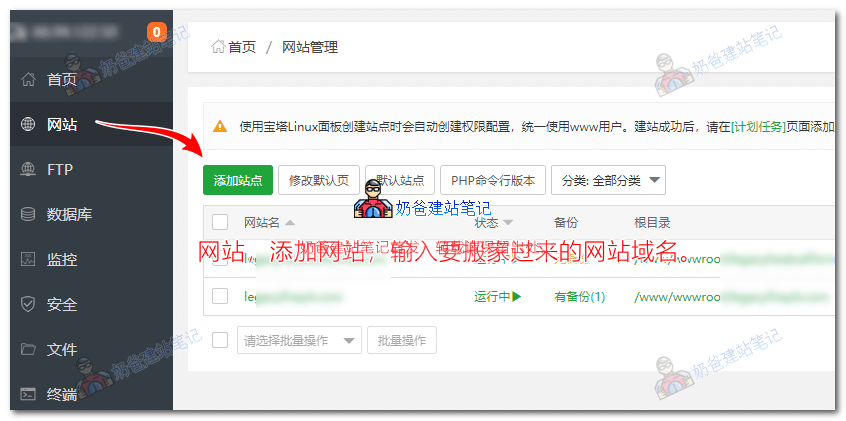
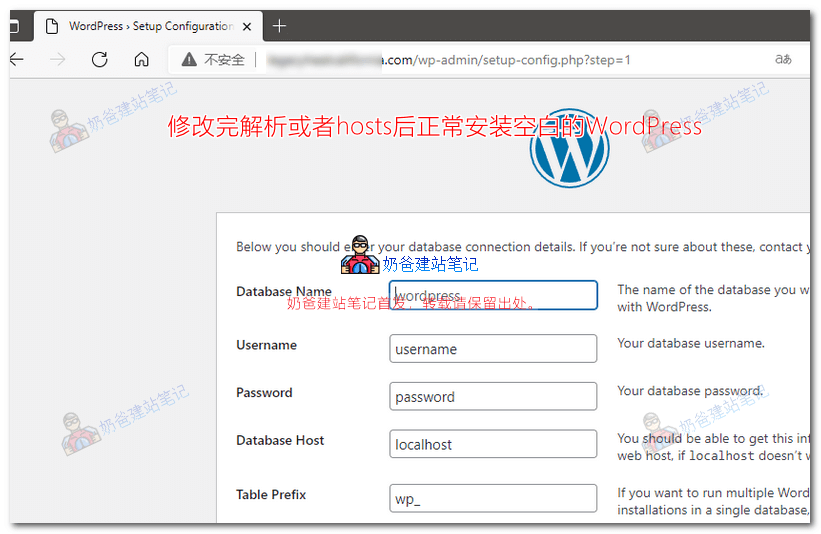
1. Normally add the website in Baota Panel, then install a blank WordPress site on this website.
You might encounter a problem here because the domain name hasn't been pointed to the new server via DNS, or the DNS hasn't propagated yet. Then you won't be able to install the blank WordPress. We can use the method of modifying the hosts file to resolve the website directly to the new server locally. (If you don't know how to modify it, please search on Baidu, Bing, or Google for a tutorial on modifying the hosts file.)
2. After installation, go to the plugin backend, install and activate All-in-One WP Migration.
3. Click on the All-in-One WP Migration menu, select Import, and upload the backup file previously downloaded to your computer.
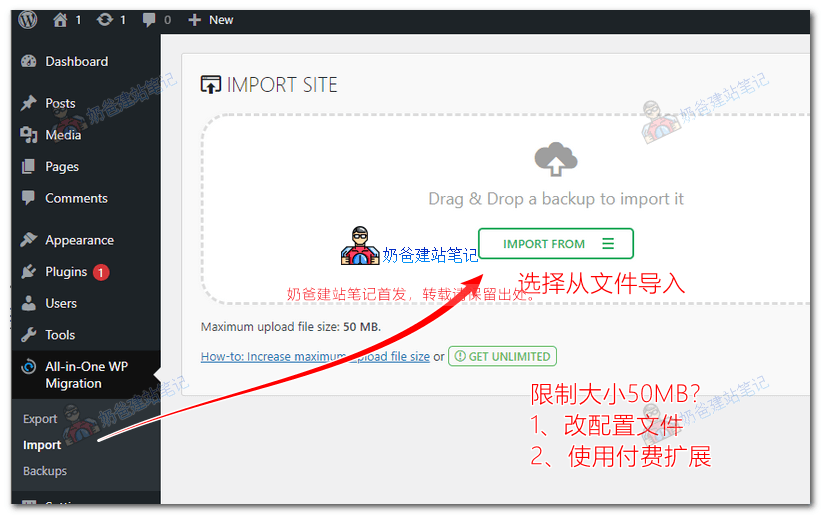
At this point, there will be a prompt about a 50MB size limit. Our backup file is over 200MB, so it cannot be imported directly. Therefore, we need to find a way to bypass the upload size limit.
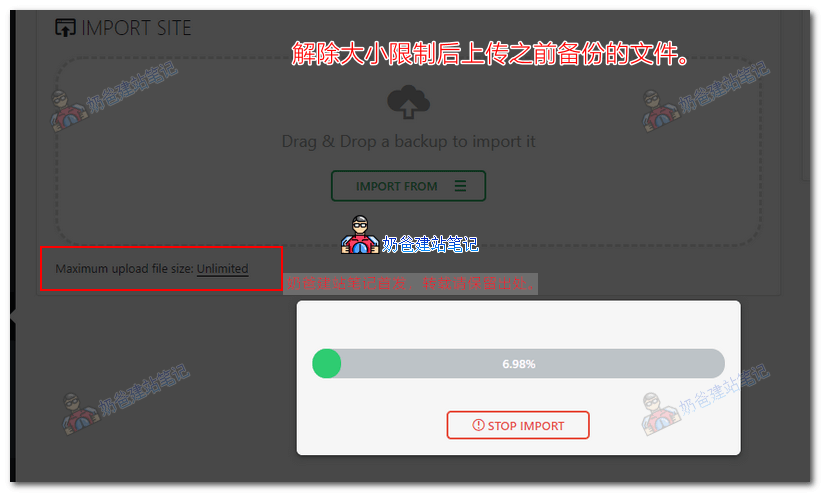
Method 1: Refer to the „Modify the All-in-One WP Migration 50MB Size Limit" section in the previously introduced article;
Method 2: Install the all-in-one-wp-migration-unlimited-extension.zip extension.
The all-in-one-wp-migration-unlimited-extension is a paid extension. You can click the GET UNLIMITED button to see the official price. Naiba has purchased the genuine version, and you can also choose to pay for a download.
4. Click the PROCEED button to restore the backup.
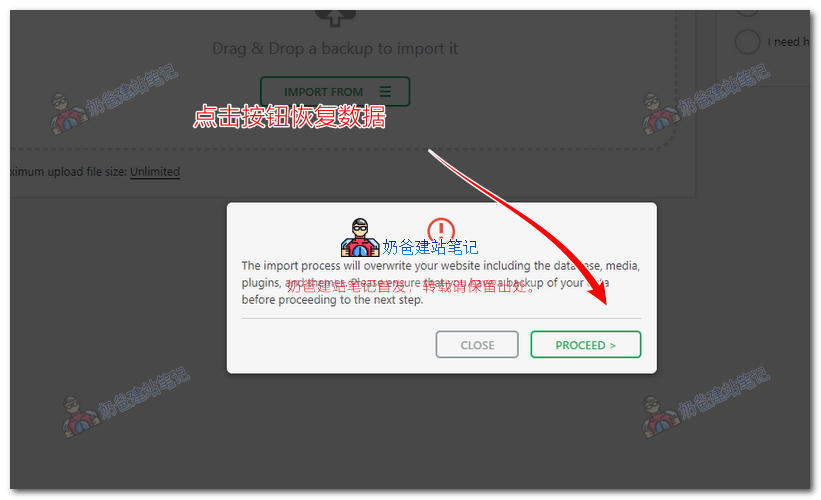
The prompt "Your site has been imported successfully!" indicates that the backup has been restored successfully.
Next, you need to do the following:
- Set up website pseudo-static rules (re-save the pseudo-static rules in the backend to automatically generate pseudo-static files for Apache servers; if using Baota Panel, remember to enable pseudo-static in the website settings);
- Resolve the domain name IP to the new server;
- After the domain name resolution takes effect, configure the SSL security certificate;
- Change the website URL in the website settings to https.
How about it, isn't using All-in-One WP Migration for backup particularly convenient?
Using Baota Panel for One-Click Migration
If both your old server and new server are set up using Baota Panel, you can use the one-click migration method.

Search for 'one-click migration' in the Baota Panel software store, then install the Baota One-Click Migration API. There is an official tutorial included, so Naiba won't introduce it here.
Purely Manual Migration
Although plugins and APIs are convenient, these simple methods may fail in some cases, so it is still necessary to master the manual migration method.
The basic steps are as follows, adjust according to the actual situation:
- Back up website files and database from the old server's management backend to local;
- Bind the domain name to be migrated on the new server;
- Upload the backed-up website files to the root directory via the new server's backend management panel;
- Create a database on the new server and import the database file backed up from the old website;
- Modify the wp-config.php file on the new server to update the database information created in step 4 into the configuration file;
- Modify domain name resolution, configure SSL certificate, pseudo-static, and other follow-up operations.