By default, attachments such as images uploaded to WordPress are stored in the wp-content/uploads folder under the website root directory. When a website has a particularly large number of attachments, one might consider separating them out for a CDN or using another domain for distribution. Below is a guide on how to customize the upload folder in WordPress 5.2.
Method 1: Modify the wp-config.php file
Insert the following code snippet into the wp-config.php file to customize the upload folder.
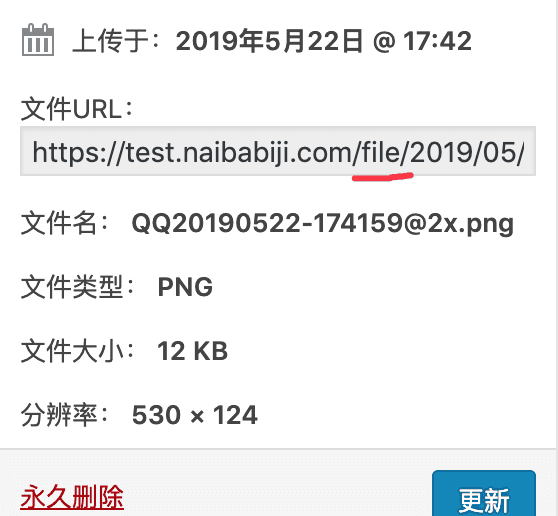
define('UPLOADS','file');Change 'file' to your desired folder name. After setting this, the URL for uploaded images will look like the example below.
Method 2: Modify WordPress configuration information
Actually, WordPress has many default configuration options, but they are hidden to simplify operations.
Open your admin URL /wp-admin/options.php, for example
https://blog.naibabiji.com/wp-admin/options.php
You will discover (oh my, what is all this? WordPress is too complex for me) many, many English settings options. Then, search for 'upload' to see the following two options.
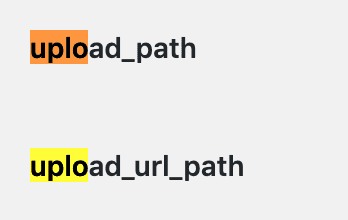
upload_path is the value for the upload path, e.g., enter file
upload_url_path is the value for the upload URL, you can enter your own subdomain. Remember to set up DNS and add a virtual host first.#Website Building# LNMP One-Click Package Adding Virtual Host Graphic and Video Tutorialor#建站# Add your own website in Baota Panel
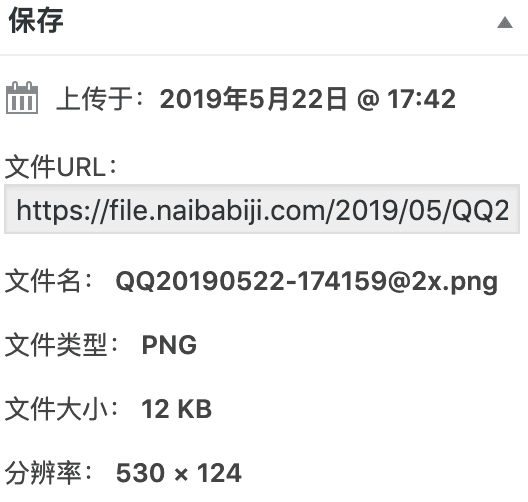
Then, the URL for uploaded attachments will look like the following.
Naiba's tip: These settings take effect immediately, and all attachment URLs in the media library will change to the new ones. You need to move the files previously uploaded to the wp-content/uploads folder to the new folder. (If you don't move them, the images in the media library won't display thumbnails.)
Then you also need to batch replace the image URLs in your posts that used the wp-content/uploads path with the new path. For the replacement method, seeBatch Search and Replace Content in WordPress.(If you don't modify them, do not delete the old images in wp-content/uploads, otherwise they won't display.)
So, inBuild a Website, you should plan your website to avoid the hassle of modifying these things midway.