
For the security of your website data, regardless of whether your hosting provider offers automatic backup, Naibabiji recommends regularly backing up your website data and database.
This article explains how toManually backup website data and database using the cPanel panel。
OthersVirtual hosts using the cPanel panel can operate in the same way.
Why back up your website
You should know that website servers, like our computers, are not 100% problem-free. If the server crashes one day and data is lost, or if you mess with the site, use a plugin, or get infected, your site could go down.
If you haven't backed up your site before, there's no way to recover the data.
Regularly backing up website data is a good habit.
How to back up your website?
Backing up a website is divided into two types: manual backup and automatic backup.
Automatic backup is usually included when you purchase a server, depending on your plan. If it includes automatic backup, it will be done automatically.
If automatic backup is not included, you can also use plugins to achieve automatic backup. For Linux VPS, you can write scripts to automate backups.
cPanel panel manual backup tutorial
This demonstration uses SiteGround virtual hosting; the backup methods for other hosts using the cPanel panel are the same.
The tutorial for backing up on the new version of SiteGround panel is at the end of the article.
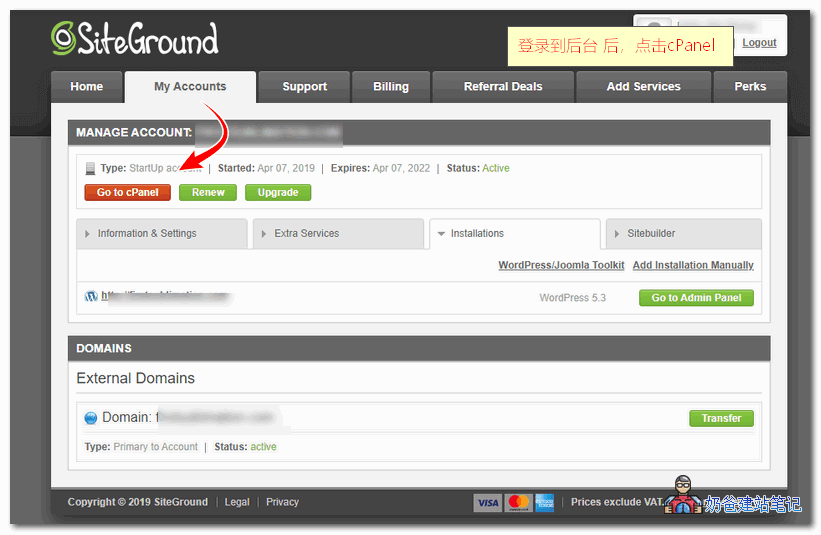
1. Log in to the SiteGround panel, then switch to cPanel.
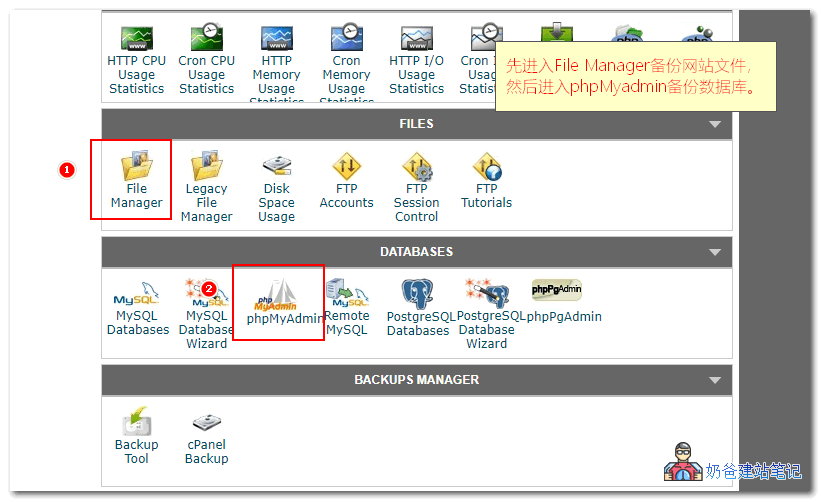
2. On cPanel, find File Manager and phpMyAdmin. We will use these two to back up the website data and database later.
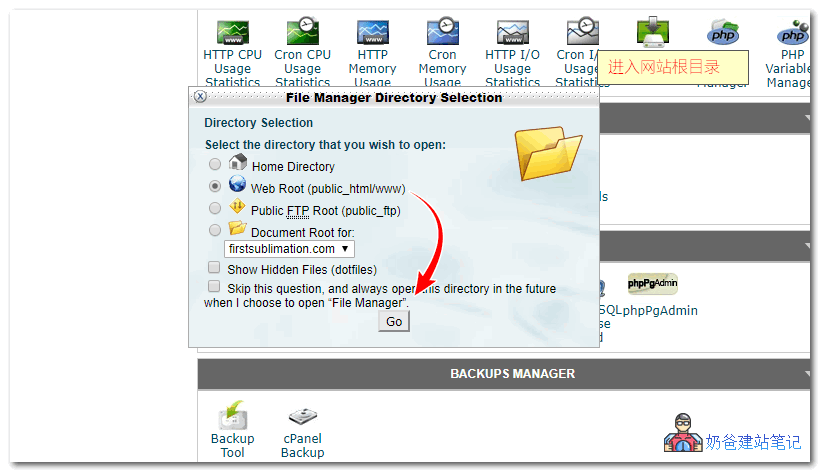
3. After clicking the File Manager button, the following image appears. Click to jump to Web Root.
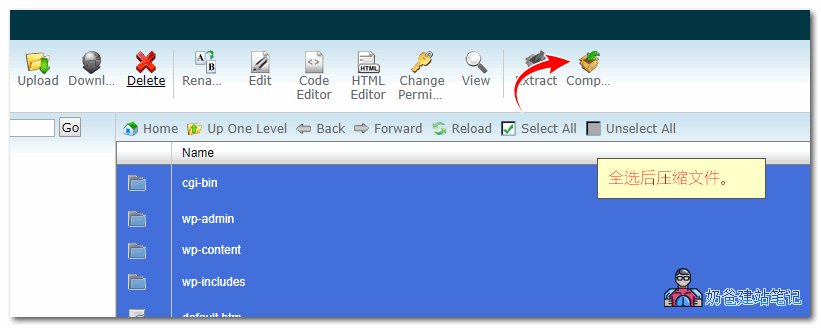
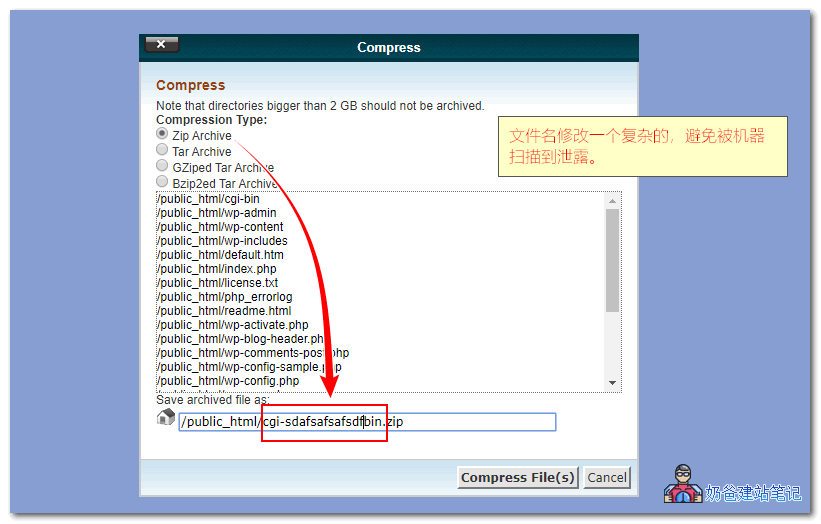
4. After selecting all files with Select All, click the Compress button.
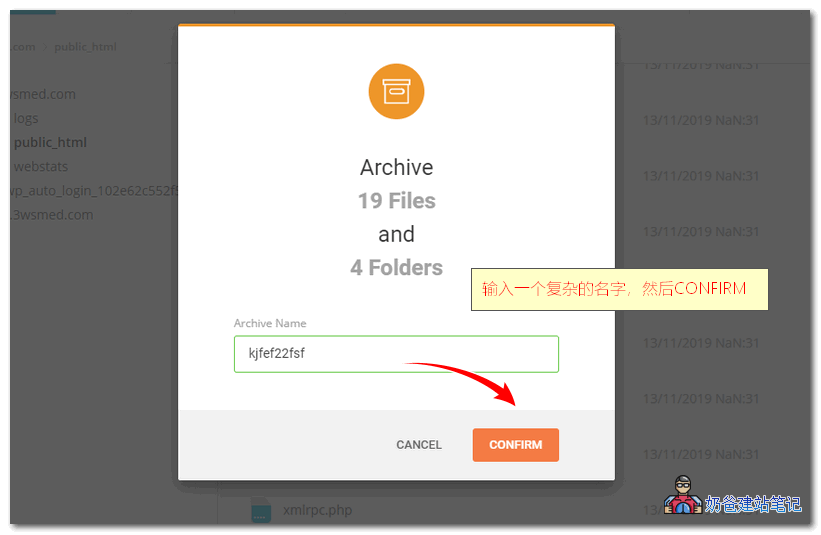
5. Choose the Zip format,Manually rename the backup name below to a complex one.。
Renaming is very important!!!
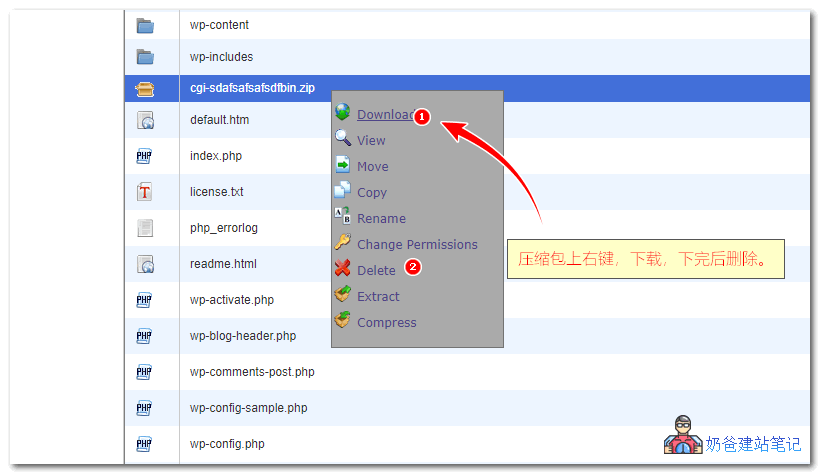
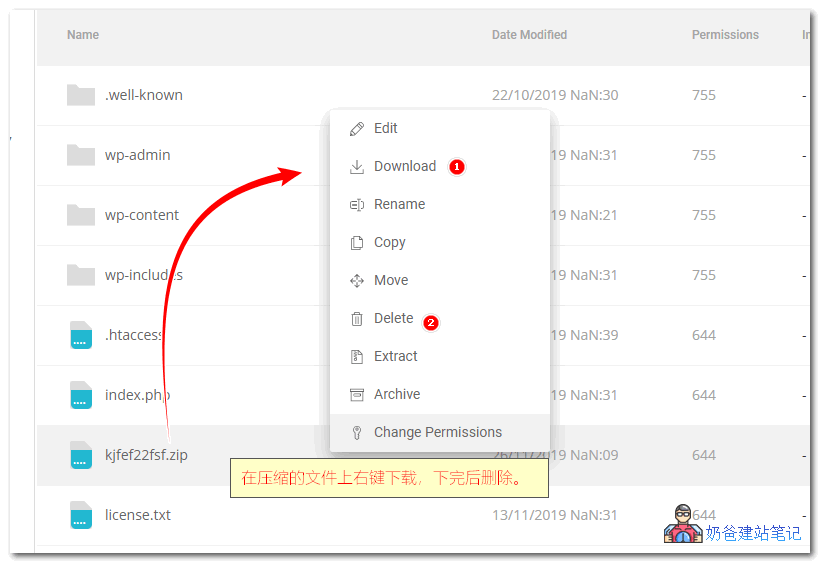
 6. Right-click on your compressed file and choose Download.Delete the backup file immediately after downloading.。
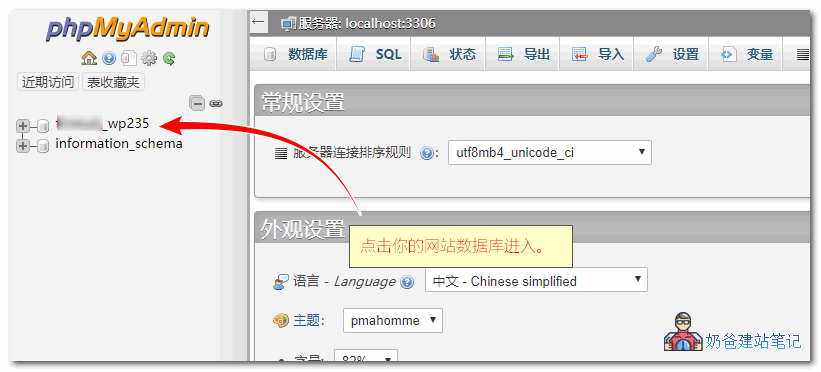
 7. Then,return to the cPanel panel,,click the phpMyAdmin button.The following image appears. Click on your website's database name.
8. Switch to the Export tab, then choose Custom.
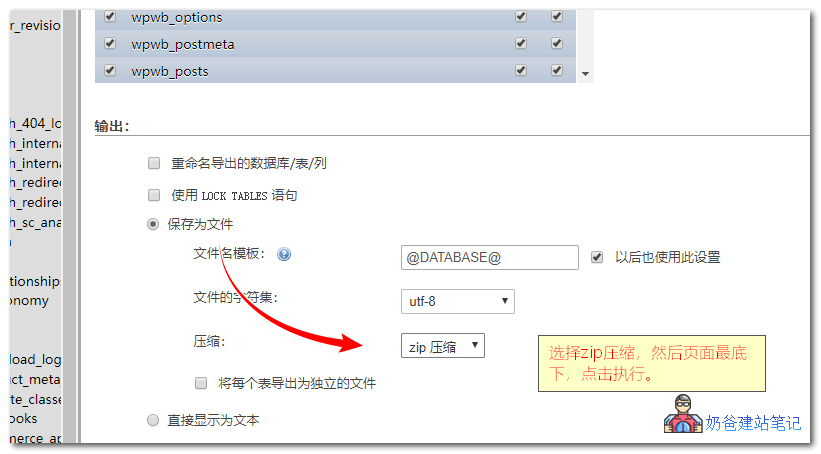
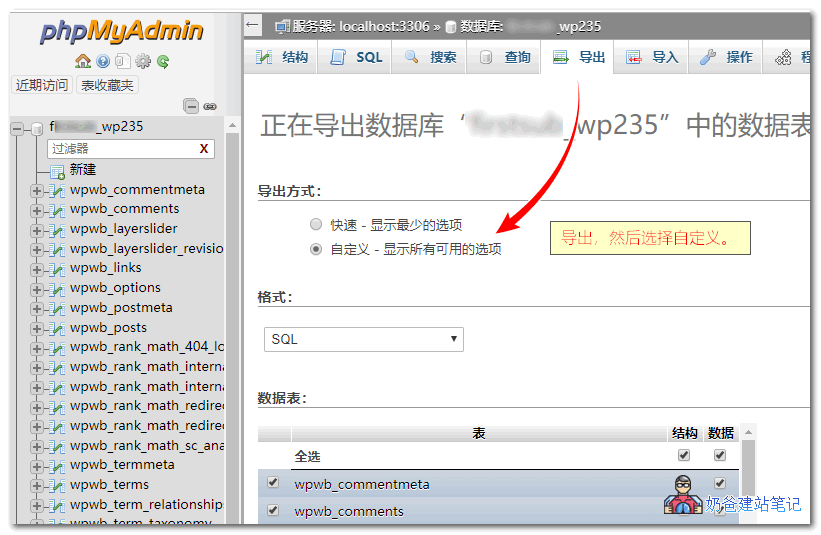 9. Below, choose Save as file, select zip for the compression format, then click the Execute button at the bottom of the page.
SiteGround new version panel backup tutorial
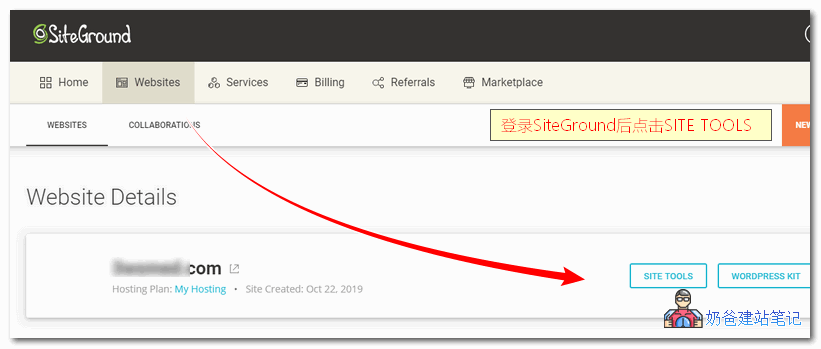
1. After logging into the new version of the SiteGround management backend, click SITE TOOLS.
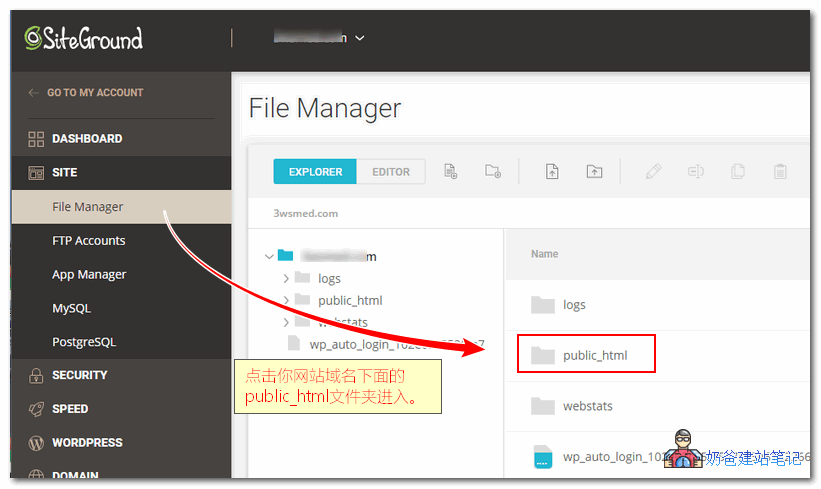
2. Click the File Manager button on the left, then enter your website's public_html folder.
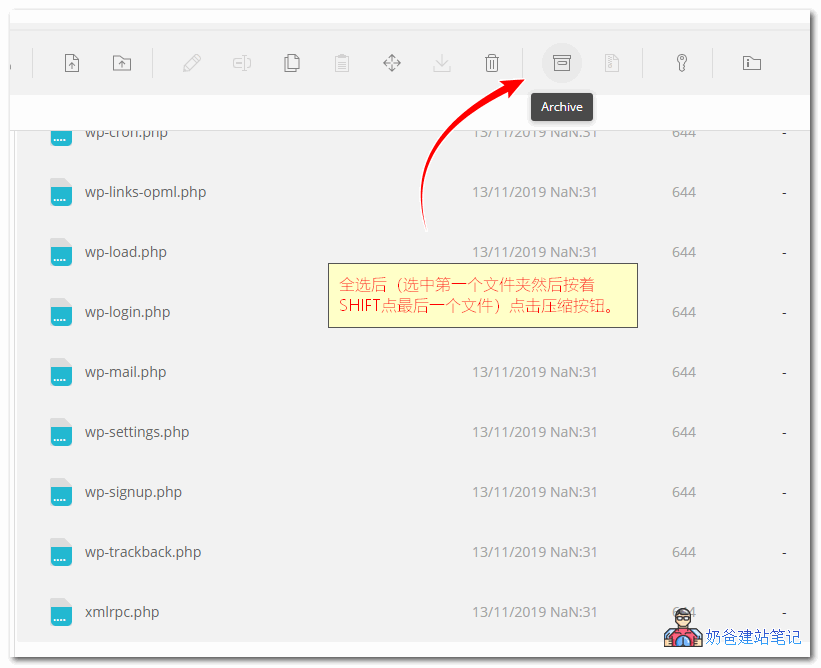
3. After selecting all files, click the Compress button.
4. Entera complex nameand continue.
5. Right-click on the completed zip compressed file and choose Download.Delete it after downloading.。
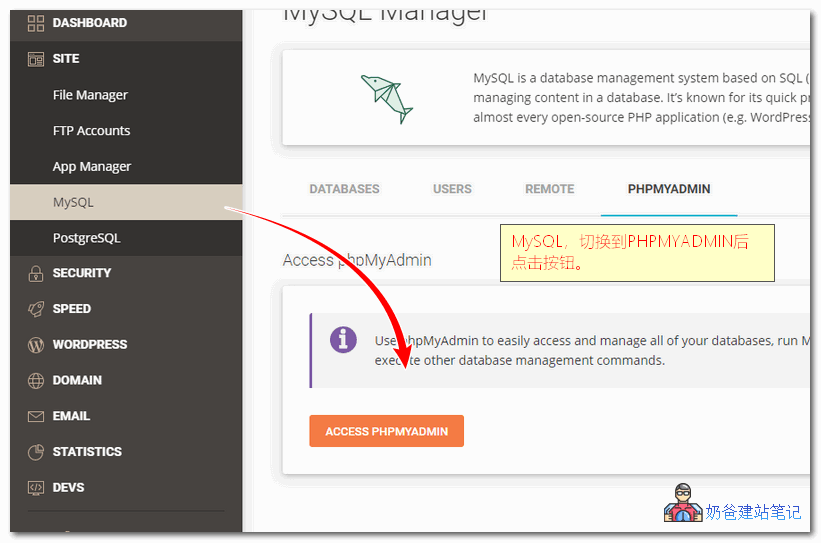
6. Then switch to the MySql button, and click ACCESS PHPMYADMIN under PHPMYADMIN to enter.
7. Click on the database used by your website.
8. Switch to the Export tab, then choose Custom.
9. Below, choose Save as file, select zip for the compression format, then click the Execute button at the bottom of the page.
The above is the tutorial for backing up website data and database using cPanel and the new SiteGround panel.
It is recommended to back up your website data periodically. The database can be backed up daily using plugins. However, manual backups should also be performed occasionally to avoid issues with automatic backups.