W3 Total Cache is a popular WordPress caching Plugin. Naibabiji has currently switched fromWP Rocketto W3 Total Cache. Compared to WP Rocket, W3 Total Cache offers more configuration options. Both caching plugins have their own advantages. This article shares the W3 Total Cache 2.1.1 cracked & Chinese localized version and a usage tutorial.
W3 Total Cache 2.1.1 Cracked & Chinese Localized Version Download
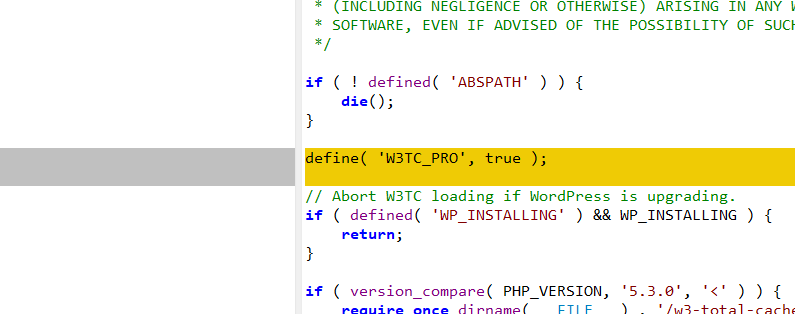
The W3 Total Cache Pro version primarily adds the following features compared to the free version. Cracking the free version is just a matter of adding a piece of code. So, if you need these advanced features, you can download the cracked version from this article. If you don't need them, the free version works just as well.
- Lazy Load Google Maps
- Complete CDN Acceleration Settings
- Eliminate Render-Blocking CSS
- Extended framework to improve performance for sites using Genesis, WPML, and more.
- Fragment Cache
- REST API Cache
- Cache Statistics
- Clear Logs
Regarding the Chinese Localization:
The language pack file of W3 Total Cache itself is incomplete, so it cannot be 100% translated. Naiba has translated the parts that can be and need to be translated. For the specific translation level, refer to the W3 Total Cache usage tutorial screenshots later.
The translation file has been packaged into the W3 Total Cache cracked version installation package, ready to use upon installation.
Official Free Version Download
Cracked translated version paid to view
[vk-content]
Chinese Localized & Cracked Version Download
Extraction password: FDV2FF3
[/vk-content]
W3 Total Cache Tutorial
You can search for W3 Total Cache in the backend plugins to install, or upload the advanced cracked version downloaded from this article to install.
Install and activate the plugin. In the left navigation bar of the backend, you can see the settings entry for W3 Total Cache. Find Setup Guide.
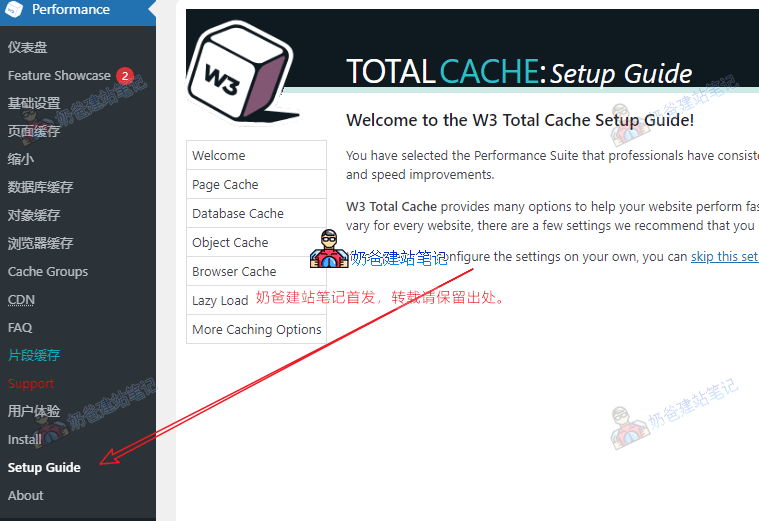
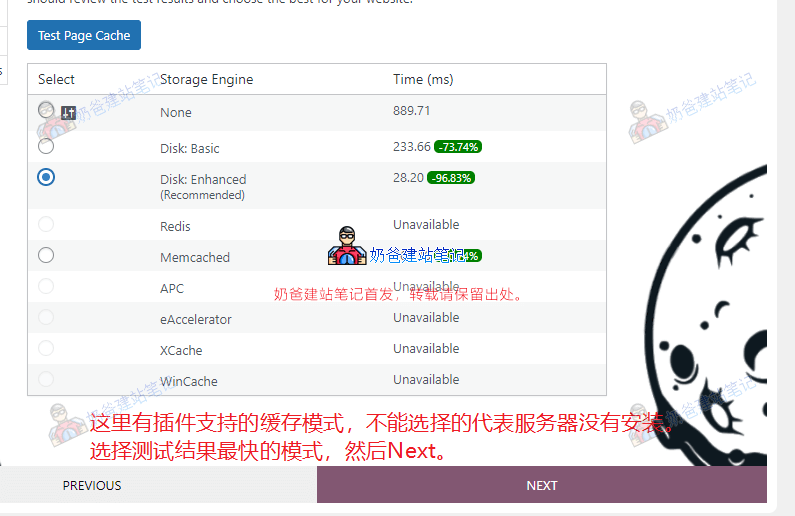
After clicking the Next button, it will begin testing page caching and select the most efficient caching method.
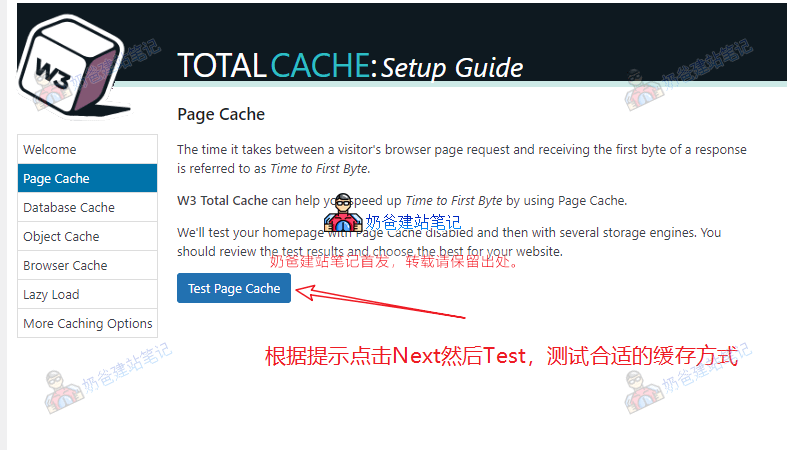
After clicking the Test button, W3 Total Cache will test the speed of the caching modes supported by your server. Select the fastest one, then proceed to the next test.
Test each caching item one by one until the setup is complete and it jumps to the Dashboard. Note: For the Lazy Load Images feature, if your Theme or other plugins have this option, you don't need to enable it to avoid functional conflicts. Additionally, enabling Lazy Load Images in some Themes may cause errors, so you can choose not to enable it.
Basic Settings
In the General Settings option, you can toggle the functions of W3 Total Cache. Since everyone's server environment is different, not all settings can be enabled. Please operate according to your actual situation.
- The regular Preview mode usually does not need to be enabled.
- Page Cache: Enable. The mode can be selected based on the test from the previous guide.
- Minify: Can be enabled. After enabling, remember to test the website in browser private/incognito mode to see if there are any errors.
- Opcode Cache: Select an available mode.
- Database Cache: Enable. The mode can be selected based on the previous guide.
- Object Cache: Enable. The mode can be selected based on the previous guide.
- Browser Cache: Enable.
- CDN: Enable the corresponding service based on your actual situation. The Naibabiji main site does not use a CDN, so this feature is not enabled.
- Reverse Proxy: Not used, do not enable.
- Message Bus: Not used, do not enable.
- User Experience: All 5 options that appear can be enabled. After enabling, test the Frontend for any bugs. If none, keep them enabled.
- Statistics: Generally does not need to be enabled. You can enable it temporarily if you want to view caching effects.
- Fragment Cache: You can choose a mode to enable. After setting, test the Frontend for any bugs.
- License: Fill it in if you have purchased a genuine copy.
- Miscellaneous: You can leave the 'Enable Google Page Speed widget' option unchecked.
Page Cache
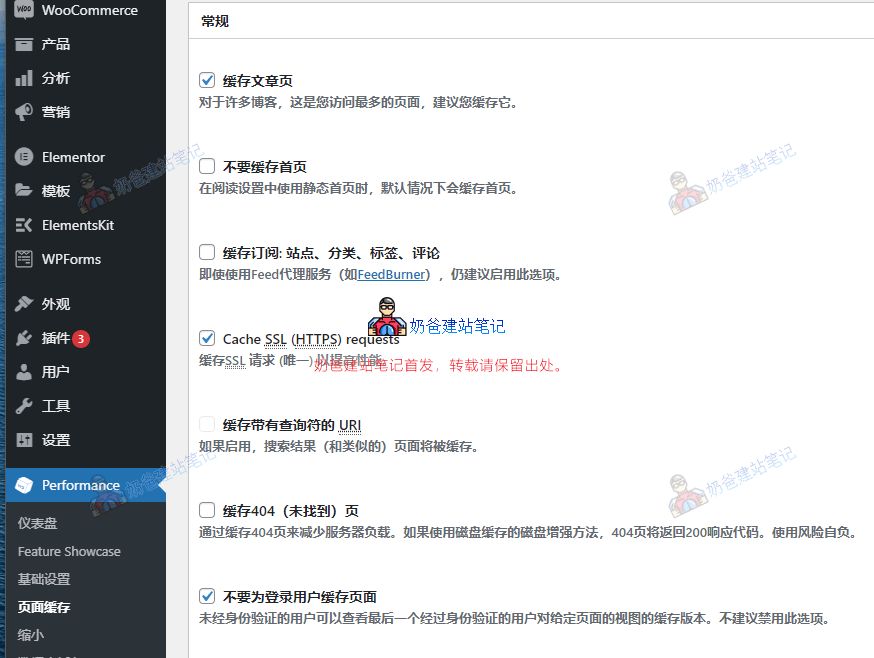
Keep the page cache interface as default. If your website has many searches and the server is under heavy load, you can enable URLs with query strings.
Logged-in users are usually not cached, so after setting up the plugin, you need to test the effect using the browser's private mode. The admin viewing the front end directly will not see cached pages, so you cannot tell if there are issues.
Cache preload: Enable. Normally, when someone visits your page, the plugin generates a cache. So the first visitor does not see a cached page. Enabling this feature makes the plugin automatically generate caches for your site's pages, so the first visitor also sees a cached page, resulting in faster speed.
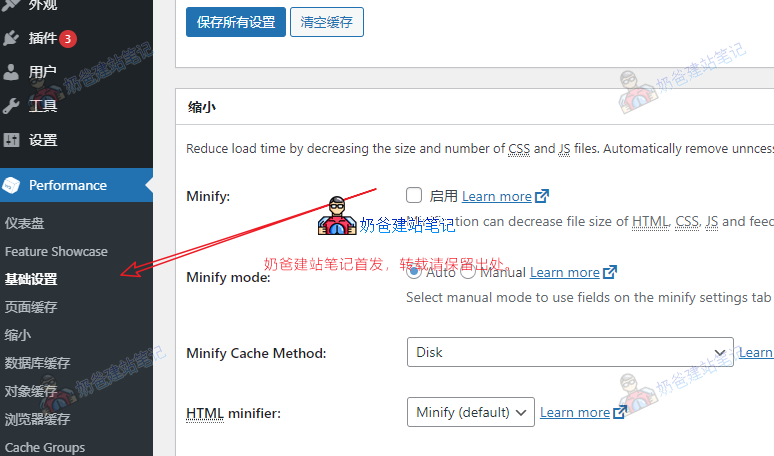
Minify
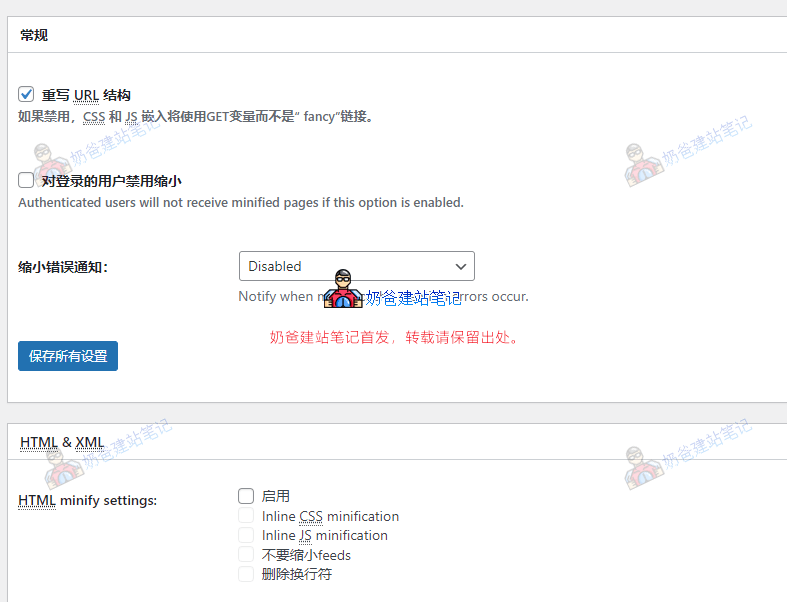
The Minify option has different effects depending on the Theme settings. Typically, minifying CSS files is relatively safe, while minifying JS files requires more testing as it may cause some functions to malfunction. In short, for this option, configure more, save more, and test more.
Database Cache
After enabling Database Cache, the settings here can usually be kept at default.
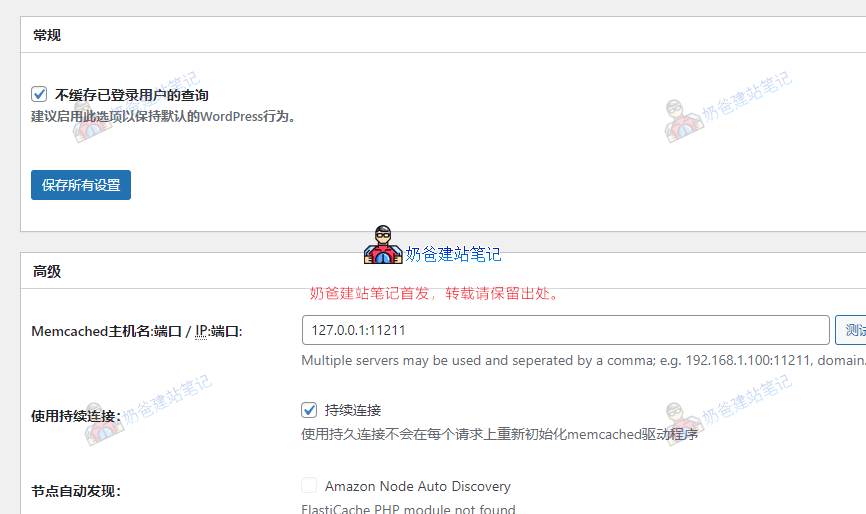
Object Cache
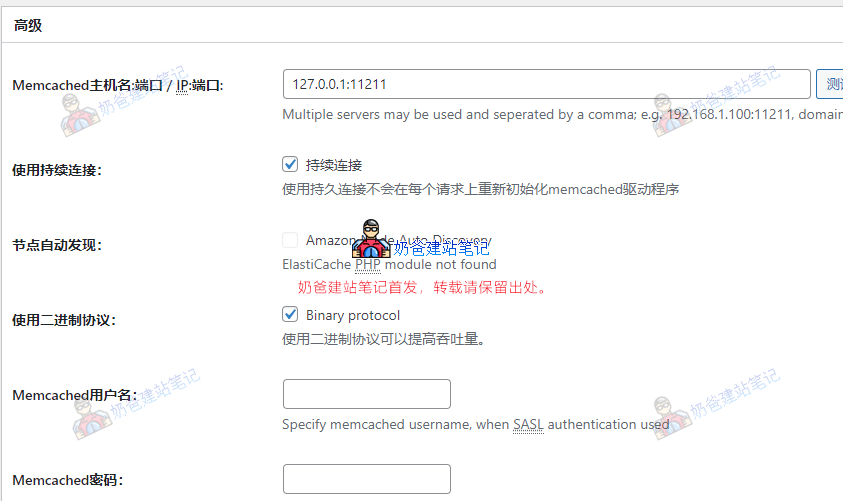
Can be kept at default.
Browser Cache
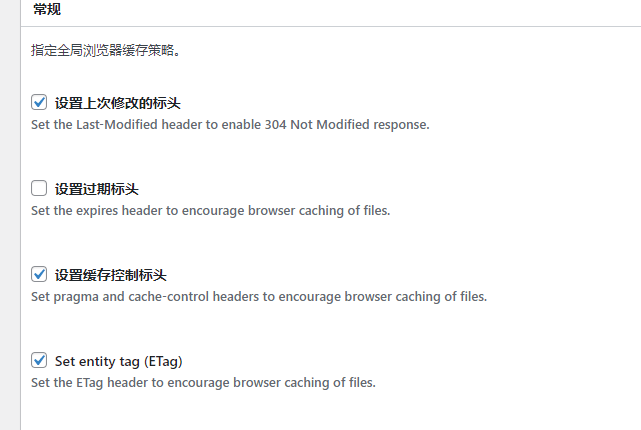
Usually, the default settings can be maintained.
Cache Groups
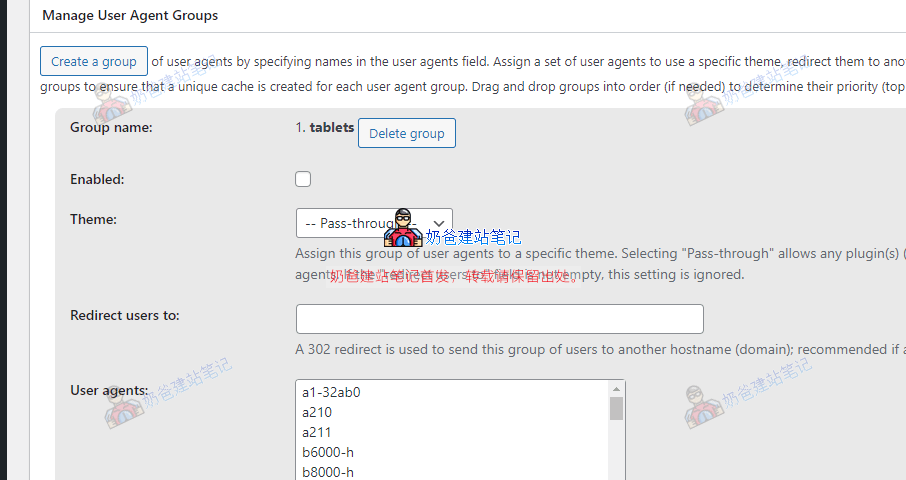
This feature, according to the description, generates different theme cache files based on different visitor devices. Nowadays, themes are responsive, so this feature is not needed.
Other settings are not introduced here; in most cases, they are not needed, so keep them as default.
How to Verify if Caching is Working
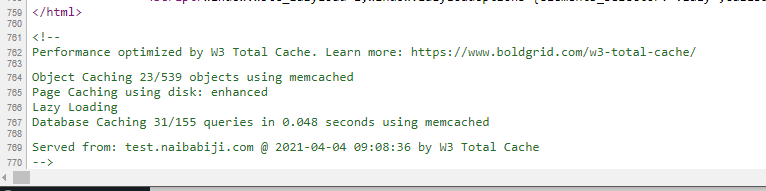
If you did not choose to remove comments and line breaks in the plugin's Minify settings, then when you visit the website Frontend using browser private/incognito mode and view the source code, you can see comments like those in the image above, proving that the plugin has started page caching.
How to Clear Cache
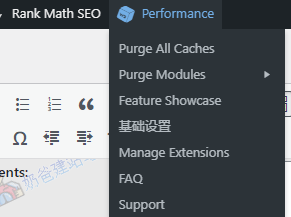
On the admin bar, you can see the W3 tool entry. The first one, Purge All Caches, is the button to clear all caches.
The following Purge Modules allow you to choose which cache content to clear.
Notes on Using W3 Total Cache
W3 Total Cache is definitely not weaker than caching plugins like WP Rocket. It just has relatively more complex settings. After saving settings each time, remember to use the browser's incognito mode or log out to test the front-end page browsing. Otherwise, some functional errors may not be discovered when logged in.
Not all caching features of W3 Total Cache need to be enabled, as each website uses a different server, and enabling all features may be counterproductive.
Additionally, after enabling W3 Total Cache, you may encounter issues when deleting some plugins, which may indicate that they are in use and require you to disable W3 Total Cache first before deleting.
Overall, for novice users,WP Rocketis more suitable. Friends who want to try tuning it themselves can give W3 Total Cache a try.