
Paid resource downloads are currently popular in China. So, how can you build your own paid resource website to make money? In this article, Naiba shares a complete tutorial on building a resource download website from scratch.
Tip: Resource download sites should consciously avoid copyright issues to prevent infringement claims.
Another resource site theme,Click to view
Basic requirements for building a paid resource download website
To build a paid resource website, we need to have the following essential requirements.
- A WordPress website that is already installed
- A Theme template suitable for resource downloads
To install a WordPress website, directly refer toWordPress Installation Tutorial.
The resource download theme used by Naiba isStoreys Pro, a WordPress Theme specifically designed for paid resource download websites.
Paid resource website setup tutorial
1. Install the Storeys Pro Theme
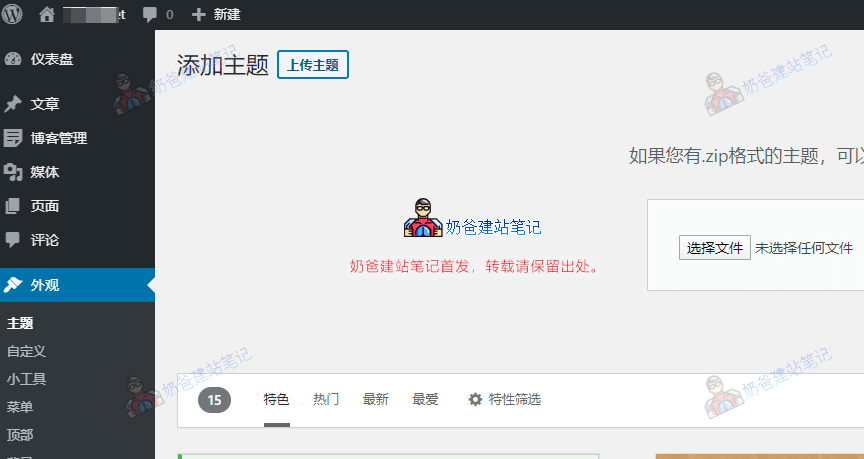
Upload the theme installation package via WP Admin > Appearance > Themes.
Then activate the theme.
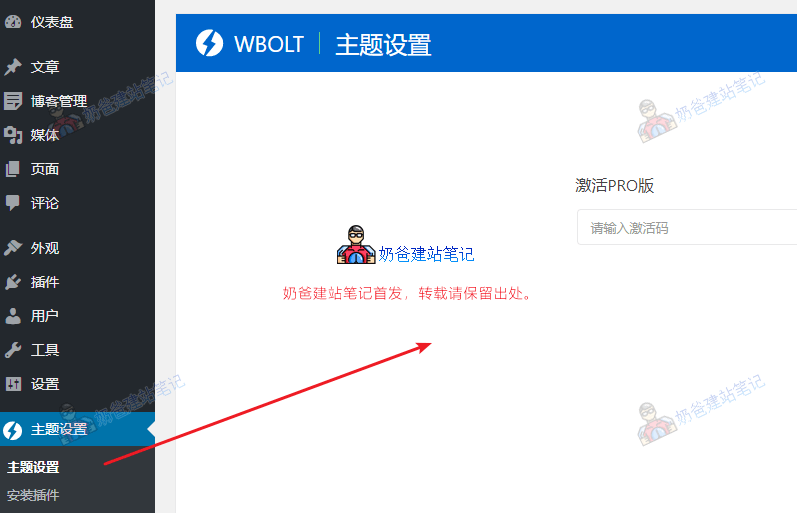
After activating the Theme, you can see the Theme settings menu in the left menu bar. Enter it, input the activation code to activate the full Theme configuration functionality.
2. Configure the Storeys Pro Theme
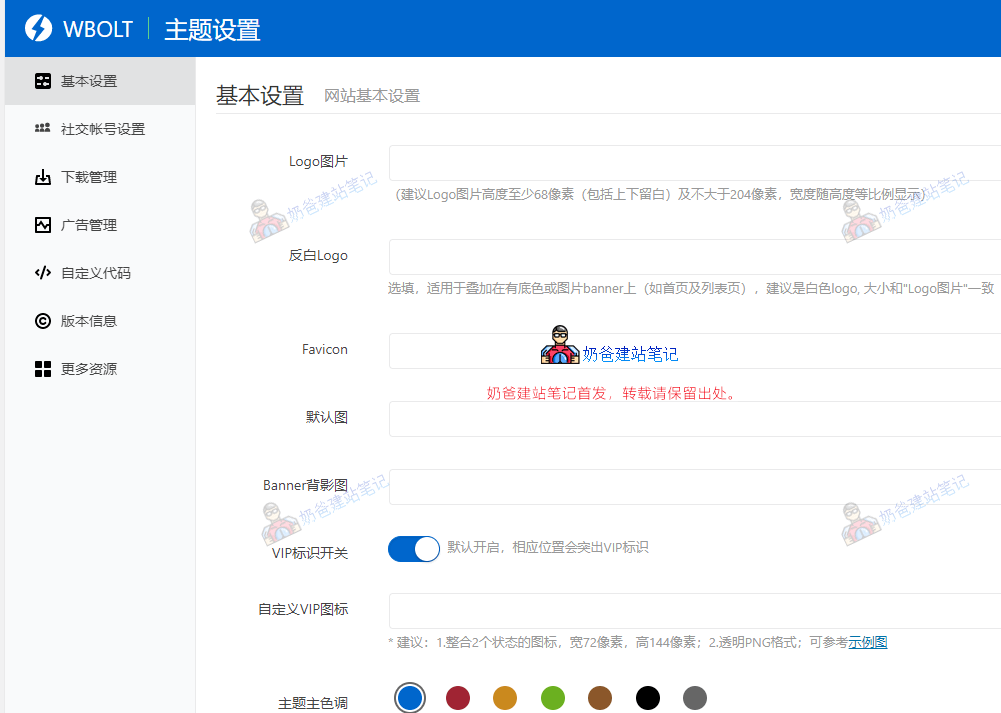
Inside the Theme settings, go through and set up all the necessary configuration items first.
3. Set up paid membership levels
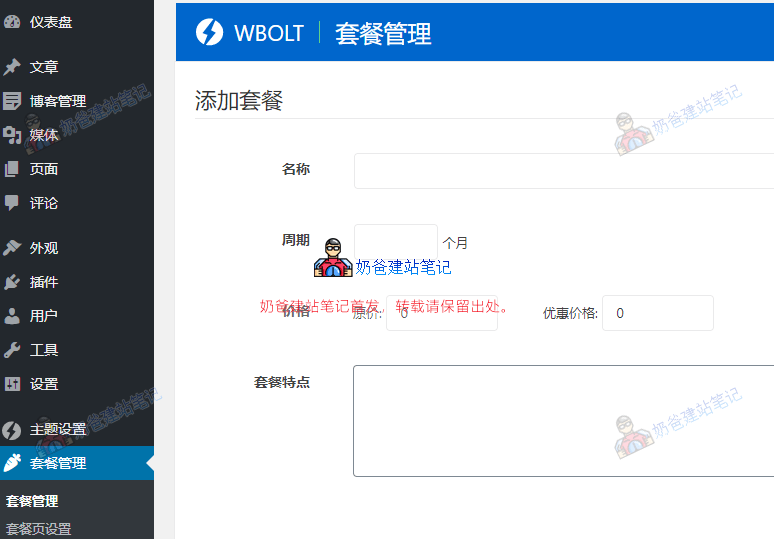
In the membership management section, add several different membership plans according to your actual operational strategy. For example, monthly plan, quarterly plan, annual plan.
4. Configure payment methods
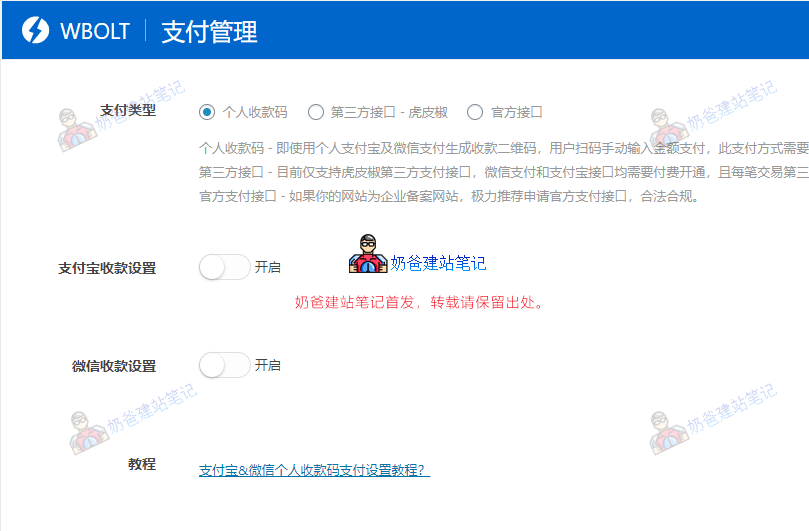
By default, it supports 3 payment methods:
- Personal payment QR code (manual processing)
- Third-party API (automatic processing, charges a fee.)
- Official API (automatic processing, requires business qualification.)
5. Set up material categories
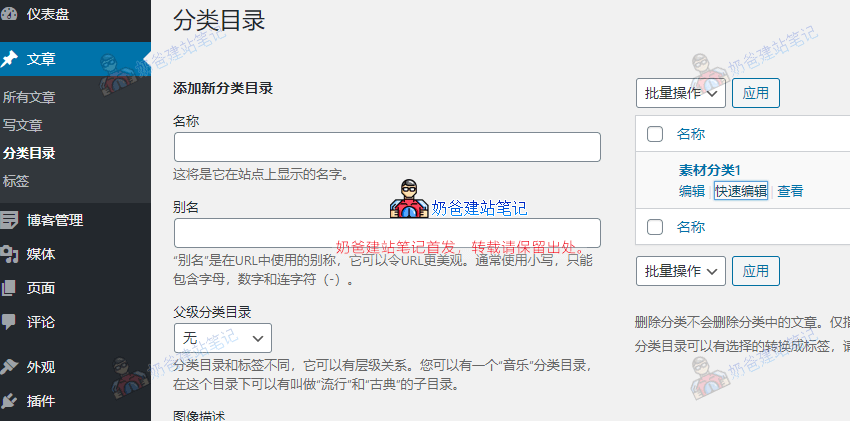
In the Admin Dashboard, select Category, then based on the type of materials you want to provide, categorize them. When adding material Posts later, select the corresponding category to help users distinguish resources.
6. Publish download resources
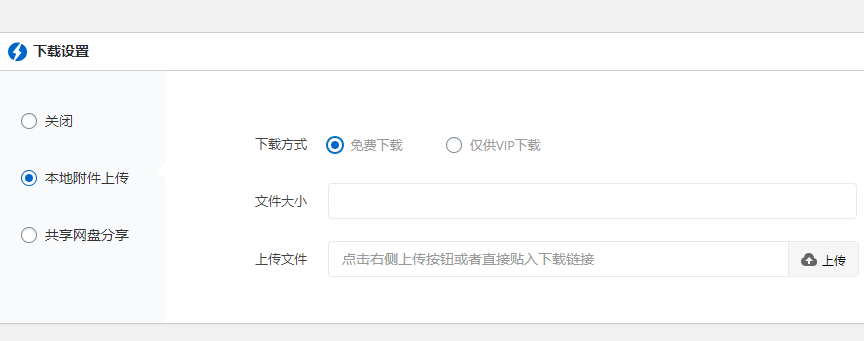
Click New, Post, and at the bottom of the editor you can see the download settings.
You can choose local attachments or a cloud drive URL. Then you can choose whether the download method requires VIP permission.
7. Modify the top navigation bar
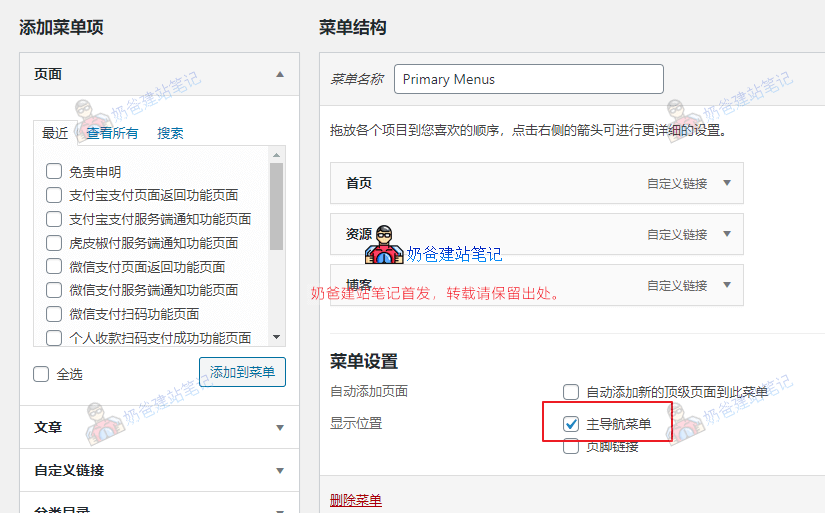
In WP Admin, under Appearance > Menus, set the default Primary Menus menu as the main navigation menu and save. Then you can see the effect on the front end.
If you want to add or modify menu items, simply add them and save.
8. Modify the user agreement and privacy policy
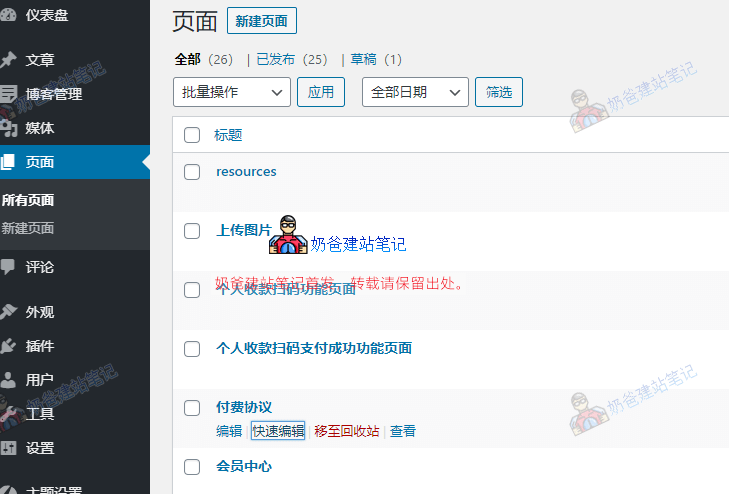
On the user registration page, you can see the prompt: „By registering and logging in as a user of this site, you indicate your acceptance of this site“sUser Agreement和Privacy Policy". You can modify the content of these two Pages directly in the Pages section of the WP Admin.
Summary
At this point, we have completed building a resource download website. The remaining task is how to promote it and let others know about your site.
You can tell your friends, or use SEO optimization for promotion. Refer toWordPress SEO Optimization Tutorialthis article.