PbootCMS is a domestic CMS system developed for enterprise websites and can be used commercially for free. This article by Naiba introduces how to build an enterprise official website using PbootCMS yourself.
Preparation Before Building
To use PbootCMS, you need a domain name and a server.
You can purchase a domain name yourself. Related articles can be found on Naibabiji'sDomain Topic Articlessection.
For the server, PbootCMS only requires a PHP environment with version greater than 5.3 to run, so you can purchase any entry-level server. Specific requirements are as follows:
1. PHP version requirements:
PHP 5.3+, supports the latest PHP 7.0, 7.1, 7.2
2. PHP extensions that need to be enabled:
extension=php_curl.dll // Required for remote access
extension=php_gd2.dll // Image processing
extension=php_mbstring.dll // String processing
extension=php_mysqli.dll // MySQL connection
extension=php_openssl.dll // HTTPS connection support
extension=php_pdo_mysql.dll // PDO MySQL connection
extension=php_pdo_sqlite.dll // PDO SQLite connection
extension=php_sqlite3.dll // SQLite connection3. Other requirements:
Enable pathinfo mode support in the environment, mainly for Nginx.
After purchasing the server, if you don't know how to install PHP separately, it is still recommended to install a Baota Panel to help manage the server. Refer to the related article:
Installing PbootCMS
Naiba still uses Baota Panel as an example to introduce how to install PbootCMS yourself.
1.Add a website in the Baota Panel
2. Switch to the folder of the website you added.
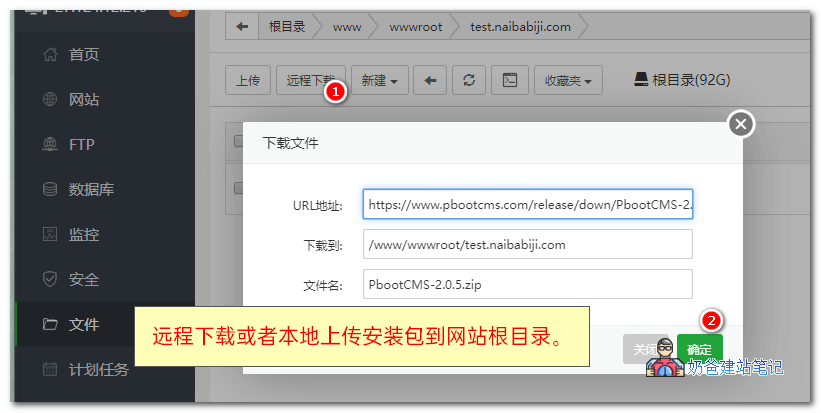
1. Select the remote download or upload button to download the PbootCMS installation package to the website root directory.
https://www.pbootcms.com/release/down/PbootCMS-2.0.5.zip
The operation method is shown in the figure below:
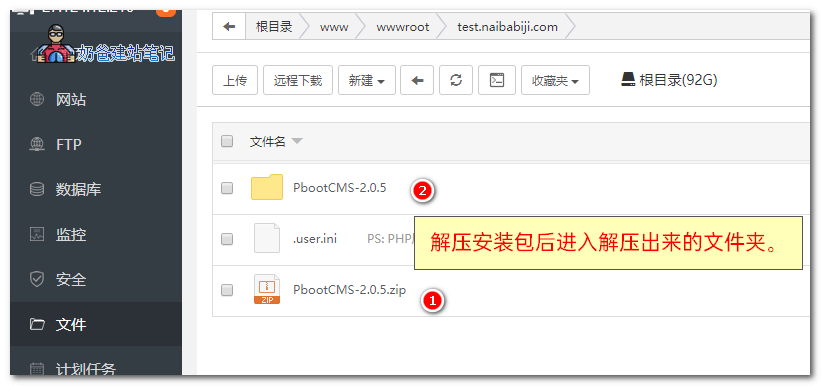
2. After downloading the installation package, select to extract it, then enter the extracted PbootCMS-2.0.5 folder.
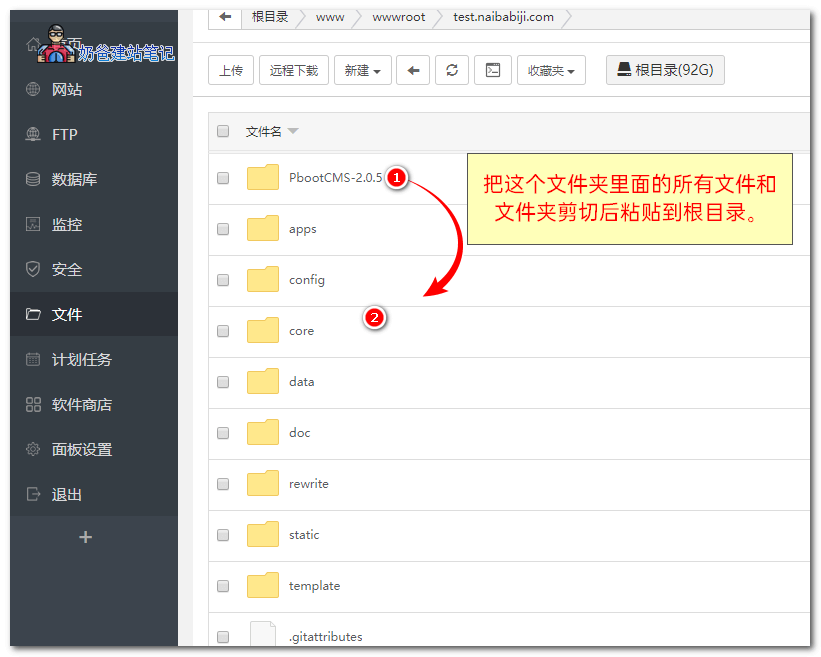
3. Select all files and folders inside PbootCMS, then choose to cut them, return to the website root directory, and paste everything, as shown in the figure below:
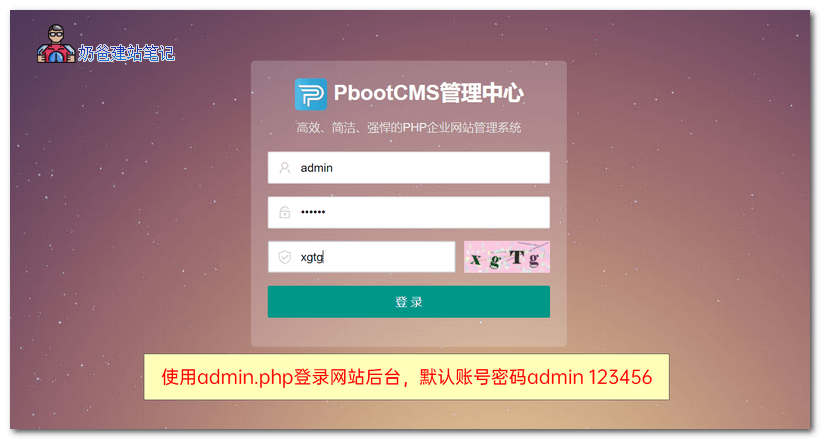
4. At this point, open你网址/admin.phpAccess the website's Admin Dashboard, the default admin account is admin with password 123456 to log in.
5. After logging in, first modify the default password (screenshot omitted here).
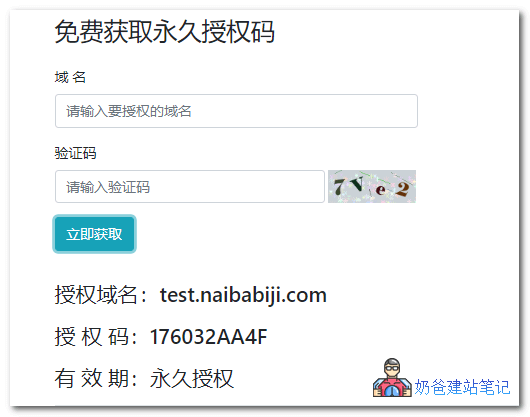
6. Go to the PbootCMS official website.generate an authorization code, as shown in the figure below:
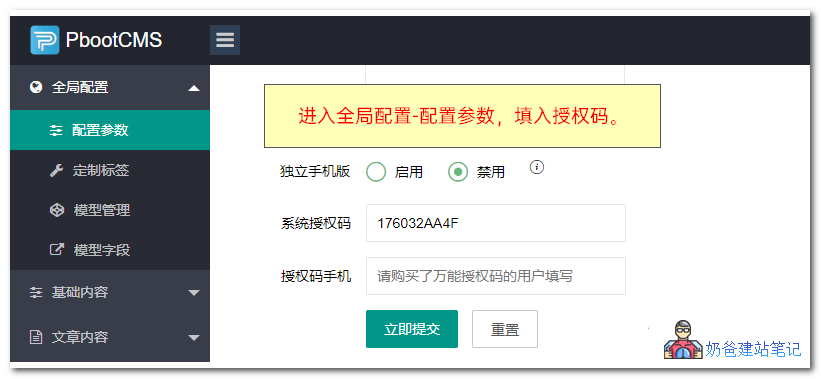
7. Fill in the generated authorization code in the website backend under Global Configuration - Configuration Parameters - System Authorization Code.
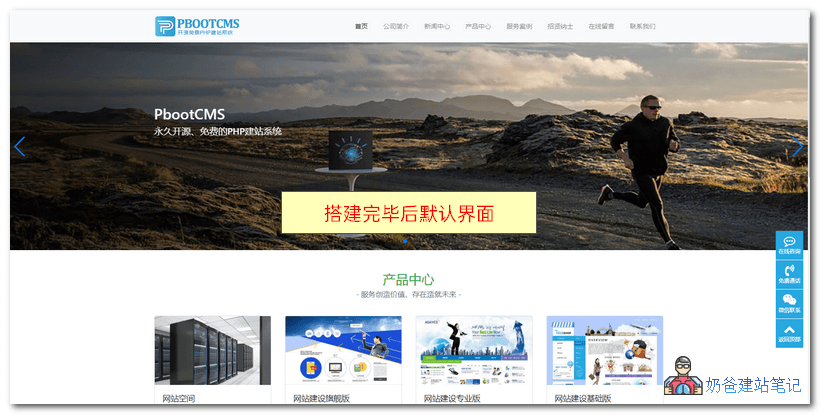
8. At this point, when you visit your website's Frontend, you can see the default website interface, as shown in the figure below:
At this point, you have already set up an enterprise website using PbootCMS on your own server. Next, let's modify the website's display interface.
Modifying PbootCMS Content
1. Modify the website name and description
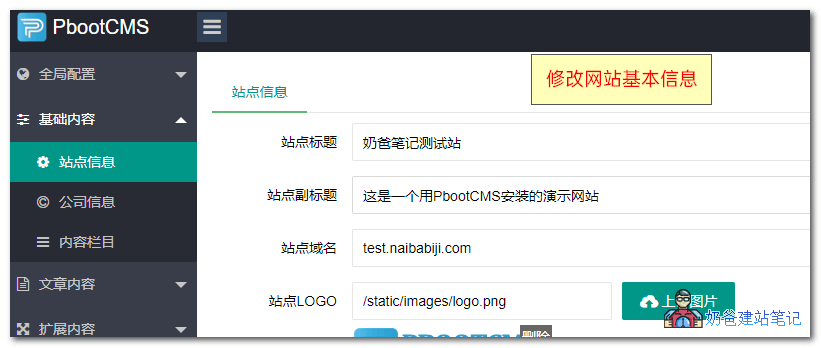
Modify the website's title and other information in Basic Settings, Site Information.
2. Modify the company information at the bottom
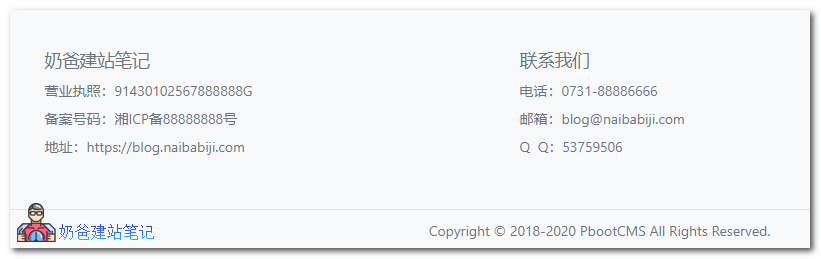
The company information at the bottom can be modified in the backend under Basic Content, Company Information.
3. Modify website category columns
Modify in the website backend under Basic Content, Content Columns.
4. Modify and add article content
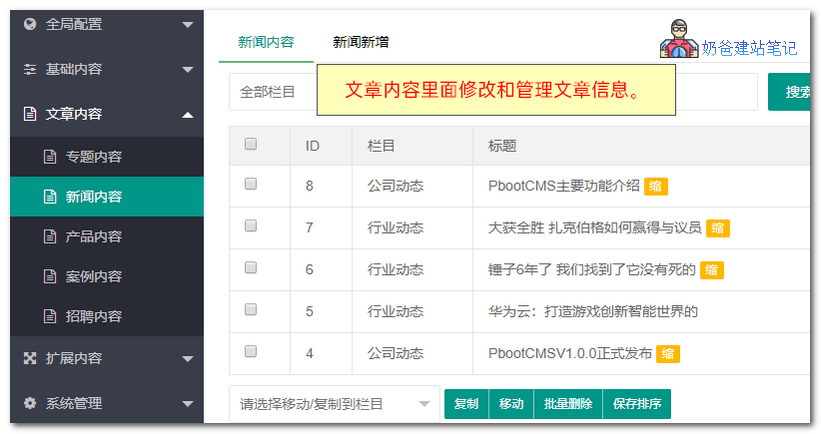
In Article Content, you can modify, delete, and add content such as company introduction, contact us, news articles, etc., on the website.
5. Modify homepage slideshow
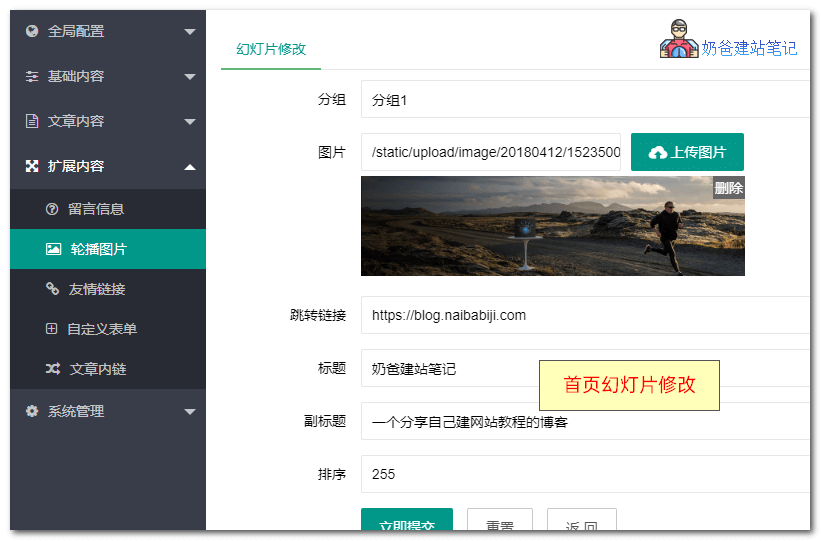
The slideshow images on the website homepage can be modified in the carousel images under the extended content in the backend. There are two slides by default; if not enough, you can add new ones yourself.
You can also see other settings in the backend, such as friend links, multilingual support, etc. After making changes, visit the frontend of the website to see the updated effect.
Isn't it simple to set up your own corporate website? That concludes the tutorial on building a website using PbootCMS.