Have you ever used WordPress's scheduled post feature? Normally, WordPress will automatically publish your post at the set time. However, under certain circumstances, automatic publishing may fail, resulting in a 'Missed Schedule' error. Here are some methods to resolve the Missed Schedule error.
What does the Missed Schedule error mean?
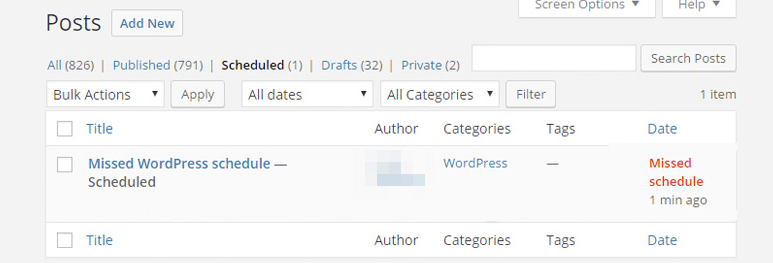
'Missed Schedule' translates to missing the schedule, meaning the scheduled post was not executed at the designated time, and the article was not successfully published.
What causes it?
Missed Schedule is usually caused by an error in WordPress's own scheduled task (WordPress Cron Job), but the cause of this Cron error is not easy to troubleshoot; it could be a plugin conflict, code error, etc.
Here are two methods to solve this error.
How to Fix the Missed Schedule Error
1. Install the Scheduled Post Trigger Plugin (Recommended)
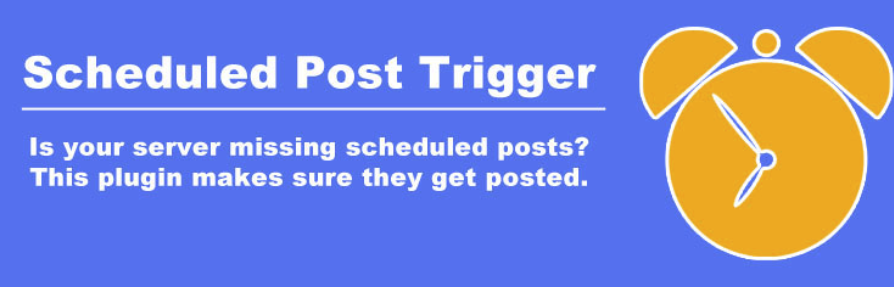
Scheduled Post Trigger will check if the article set for scheduled publishing is correctly published. If not, it will automatically change it to published.
This plugin works by checking, each time someone visits your site, whether WordPress has missed any scheduled publication dates recently. If it finds any missed scheduled instances, it will take those posts and publish them immediately.
In other words, the plugin works by adding a cron job that checks if your site is missing cron jobs. This approach may seem redundant, but it works. Additionally, the plugin requires no special configuration and starts working automatically after installation and activation.
2. Change to the Server's Cron Job
This method is a bit more complex and is not recommended for beginners.
1. Modify the wp-config.php file in the site root directory and insert the following code
define('DISABLE_WP_CRON',true);
2. Set up a cron job on the server. Taking cPanel as an example, enter cPanel and then find Cron Jobs.
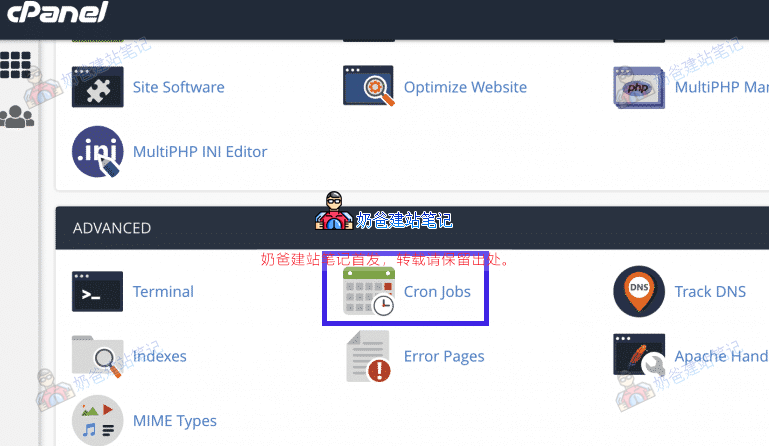
3. Add a cron job. The method is shown in the figure:
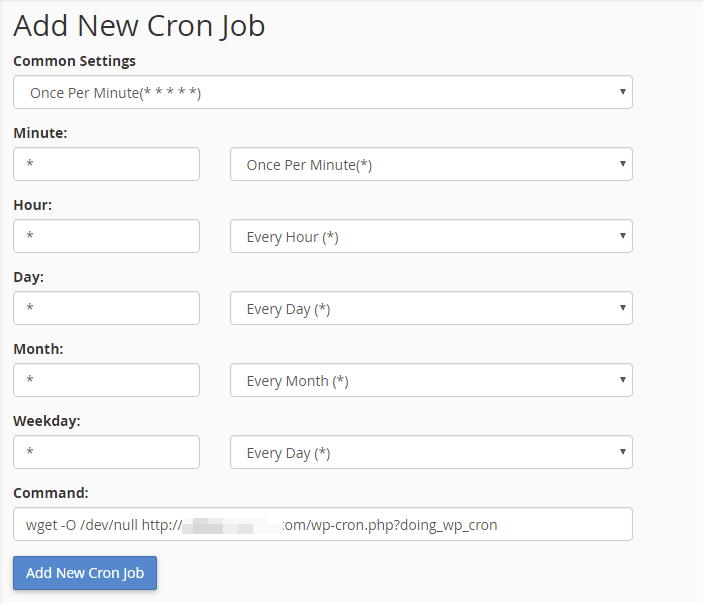
Set the execution time and frequency according to your actual situation. Usually, do not set too high a frequency, as it may cause server resource strain.
If you are using a VPS, add a scheduled task yourself with the following command:
Wget -O /dev/null http://你的网址.com/wp-cron.php?doing_wp_cron