
This article records the process and method of moving a website from Bluehost to SiteGround. Bluehost and SiteGround are two service providers commonly chosen by foreign trade website builders. However, many people who use Bluehost purchase the fake Bluehost China hosting, whose reputation and service cannot match SiteGround (even the genuine Bluehost is garbage, Naiba has dealt with it).
Today, Naiba is moving a WordPress site for a foreign trade friend. Because he forgot his Bluehost backend account, his account was locked for several hours, so he directly migrated the website from the WordPress backend to SiteGround's new server using the All-In-One WP Migration plugin.
Specific Steps for Migrating from Bluehost to SiteGround
Operation Steps on the Old Bluehost Website
1. Install the All-In-One WP Migration plugin
All-In-One WP Migration is a plugin for WordPress backup and migration. Originally, Naiba planned to useUpdraftPlus WordPress Backup PluginTo back up and restore the website, since this foreign trade friend has already installed the All-In-One WP Migration plugin himself, there is no need to install another plugin with similar functionality.
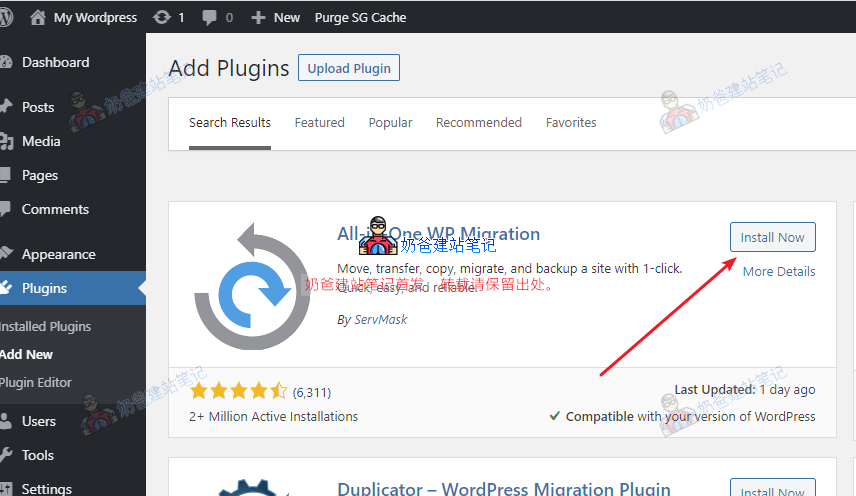
The method to install the plugin is very simple: directly search for All-In-One WP Migration in the backend and then install it.
2. Select export data in All-In-One WP Migration
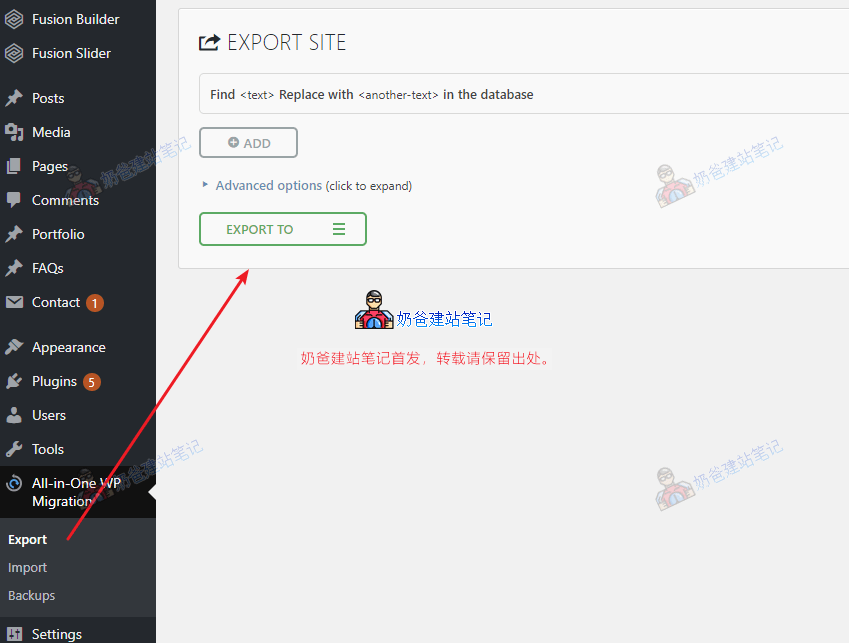
Activate All-In-One WP Migration, then click Export in the left menu, click EXPORT TO, and select File.
The other options are paid features. So just export directly as a file.
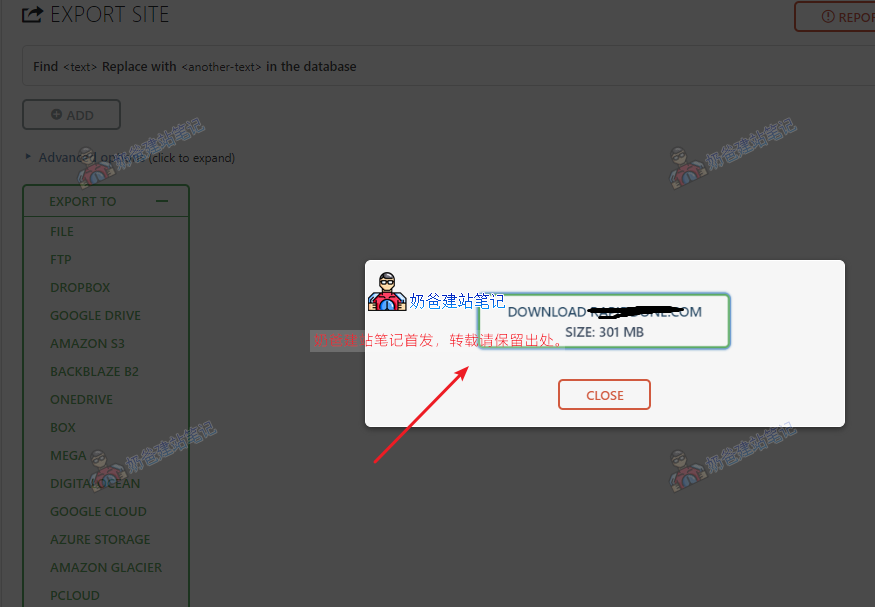
After clicking the export button, it will back up your entire website files, and then download the backup file upon completion.
Operation Steps on the New SiteGround Website
1. Install a fresh WordPress website
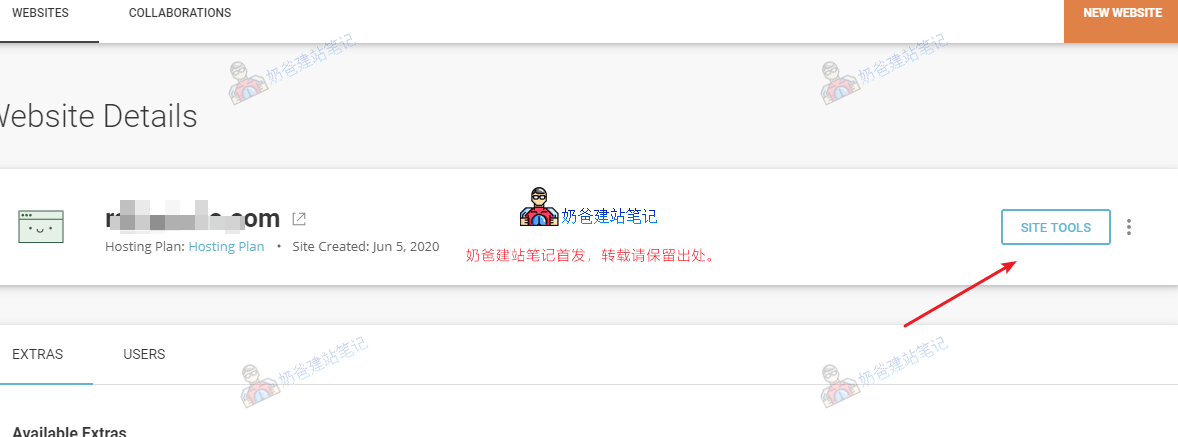
After logging into the SiteGround admin, click SITE TOOLS to enter the management backend.
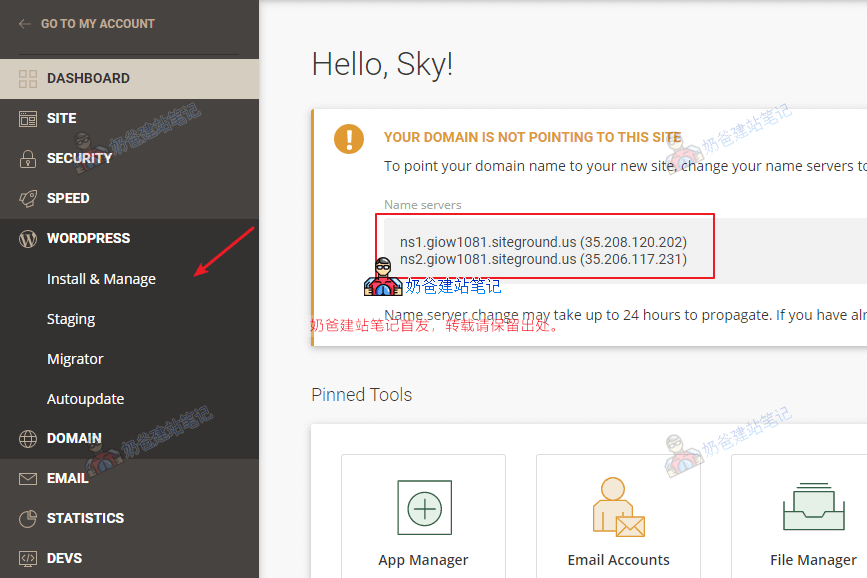
After entering the management backend, the red box in the image above contains the DNS server information that needs to be modified for the domain. On the left, Instal & Manage is for installing and managing WP sites. Click on it to install a WP site.
For detailed installation process, please refer toSiteGround Tutorial。
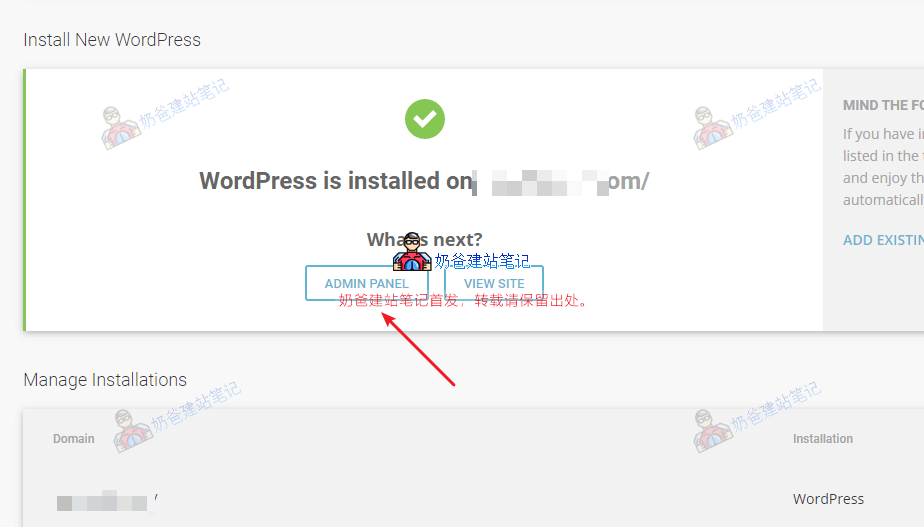
After installation is complete, enter the WP admin.
2. Install the All-In-One WP Migration plugin
Refer to the previous introduction for the installation method. Simply search and install it from the admin plugin library, then activate it.
3. Import the backup file to restore the website
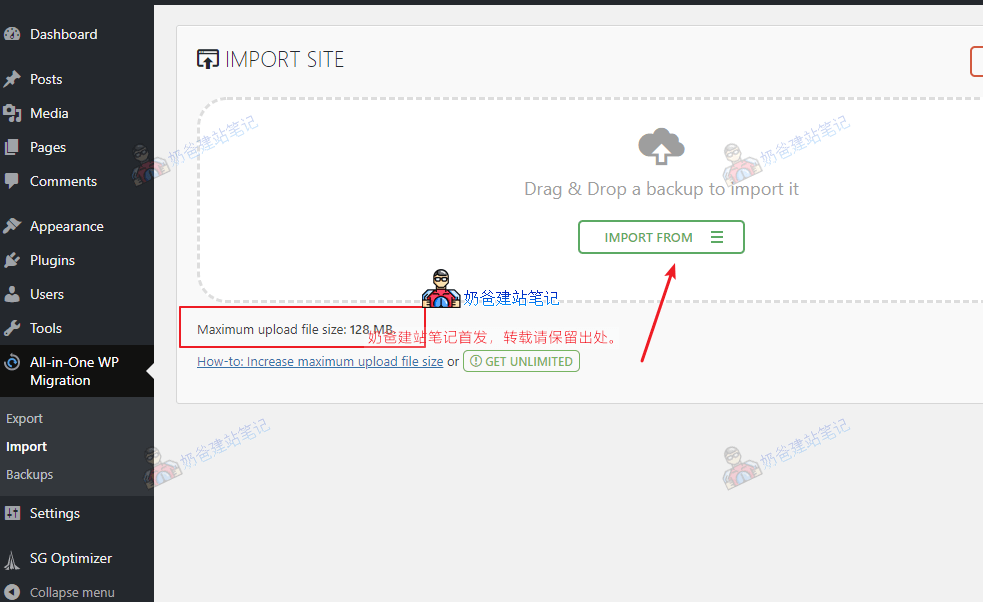
After installing All-In-One WP Migration, click Import in the menu, then select 'import form file', choose the backup data of the old website you downloaded earlier, and you can restore the website.
Notes
1. File upload size limit
SiteGround's virtual host limits the maximum upload file size to 128MB, which cannot be modified.
So if your backup file exceeds this size limit, you cannot directly restore the website data via file upload. You can use the plugin's advanced features to restore from a URL, FTP, or other online storage.
You can also split the backup file into volumes, upload it to the server via SiteGround's file manager, unzip it, and then go back to All-In-One WP Migration's backup list to select restore (also an advanced feature of the plugin).
If this plugin fails to restore the website, you can also consider the conventional website migration method.
2. Conventional website migration methods
The conventional website migration method is to back up the website database and files on the old server, then restore the database and files on the new server, and then modify the domain DNS resolution.
This article uses All-In-One WP Migration for backup and restore because the backend management account of the old server was forgotten, so the only option is to back up data directly from the WordPress backend and then restore.
Of course, backing up and restoring data from the WordPress backend is not only possible with the All-In-One WP Migration plugin; many other plugins can also accomplish this.
In short, moving a WordPress site only requires ensuring that all database and website files from the old site are transferred to the new server.
If you really can't handle it, you can contact Naiba for paid migration assistance.
3. All-In-One WP Migration advanced genuine version download
Here is a share of the genuine All-In-One WP Migration file download. Please click the button below to get it.
4. Don't forget DNS resolution when migrating
Because you have changed to a new server, the DNS resolution must also be modified to the new server's IP. Whether you modify it before or after migration, it's fine as long as you don't forget to make the change.
5. After confirming the migration is successful, remember to cancel the old server's auto-renewal(if any)
Usually, servers like Bluehost are purchased with automatic renewal payment, so if you no longer use it, remember to go to the backend to cancel the automatic renewal feature.
SiteGround's built-in migration plugin SiteGround Migrator
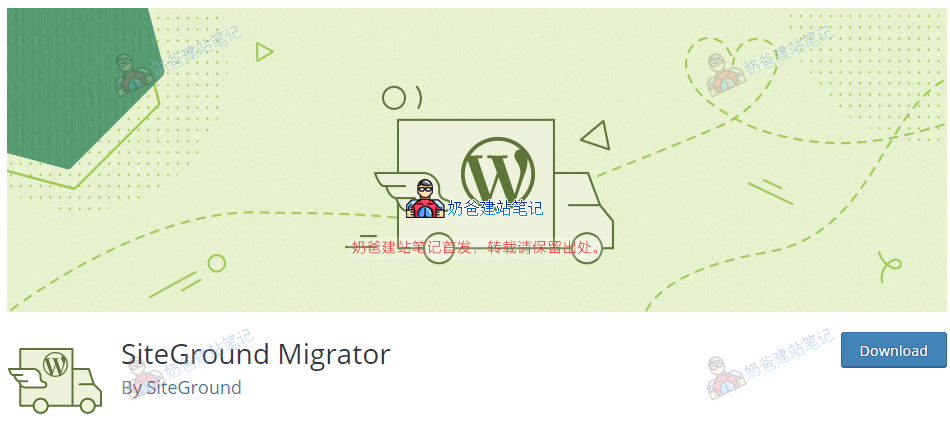
SiteGround comes with a SiteGround Migrator plugin that can conveniently help you migrate your website. The usage method is also very simple. When you first activate SiteGround, you will be prompted if you need to migrate your website. If migration is needed, install SiteGround Migrator on the old website and enter the KEY information provided by SiteGround. (If you missed the prompt, you can also directly select Migrator in the management backend to migrate.)
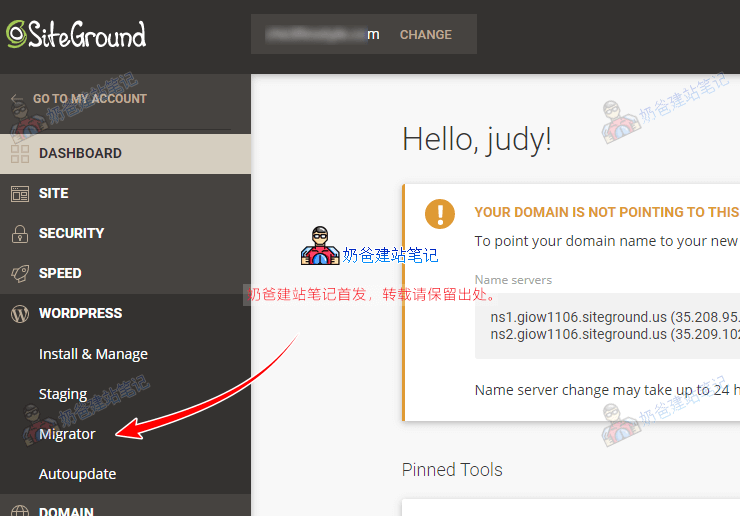
Then click the migration button, and it will automatically move the old site to the new site.
However, actual tests have found that not all websites support this plugin's automatic migration, which is why Naiba uses All in One WP Migration for migration here.